


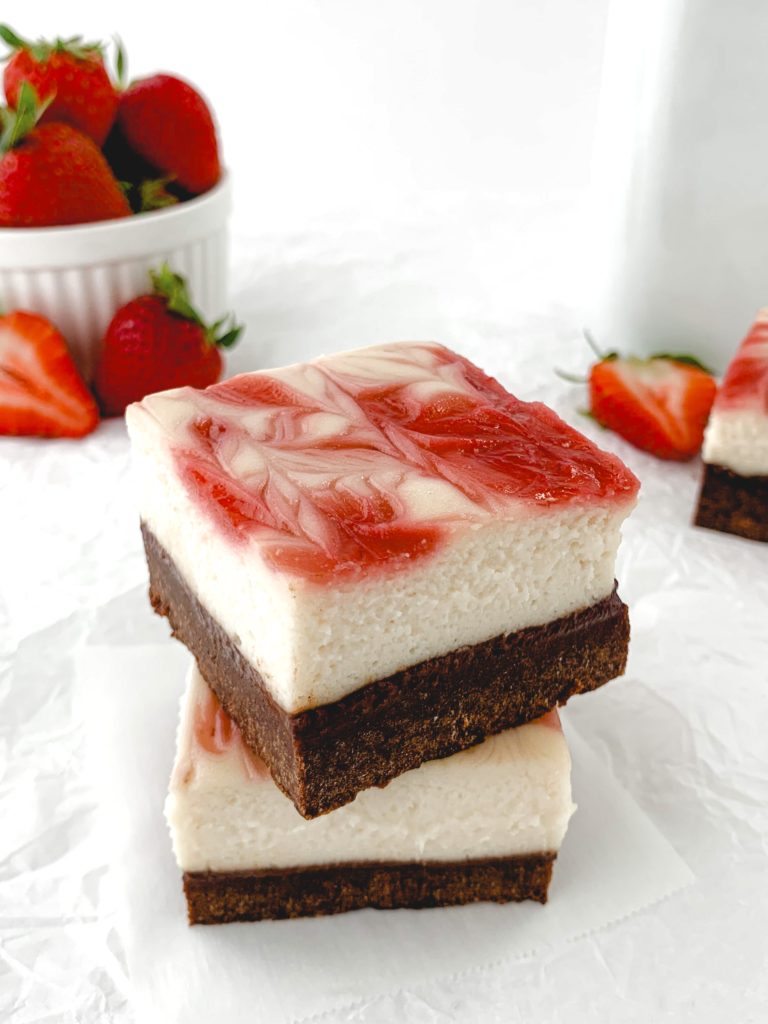
With a fudgy brownie base, a thick layer of rich and creamy cheesecake, and topped off with a fresh strawberry swirl and sauce, these vegan cheesecake brownies may be the most delicious thing that will ever come out of your kitchen! Plus they can be made gluten free AND sugar free!

Fudgy brownies. Creamy cheesecake. Sweet strawberry sauce. What’s better than each of these items eaten individually? Well of course, it would be layering them together for the most decadent treat imaginable, these vegan cheesecake brownies!! And even better than that? I swear this recipe is EASY to make, and you will impress the heck out of anyone you serve these to!
I have so many things to say about these vegan cheesecake brownies, but also I don’t even want you wasting any more time reading before you get into making them, because they are irresistibly incredible, and you need them in your life ASAP! So I will make it quick – just a couple notes. First, customize the topping as you see fit. Not into strawberries? Leave them naked, or swap in a different fruit! Second, ideally make sure you make these the day BEFORE you want to be eating them, since they work best if they set overnight. But if that’s not possible, be sure to give them about 4 hours of chill time in the fridge before cutting. Third, oh my gosh why am I still even typing this let’s just make them already!!!
How To Make Them:
There are of course three major components to these vegan cheesecake brownies – the fresh strawberry sauce, the cheesecake layer, and the brownies on the bottom. And we are going to make them in that order.
Strawberry Sauce..
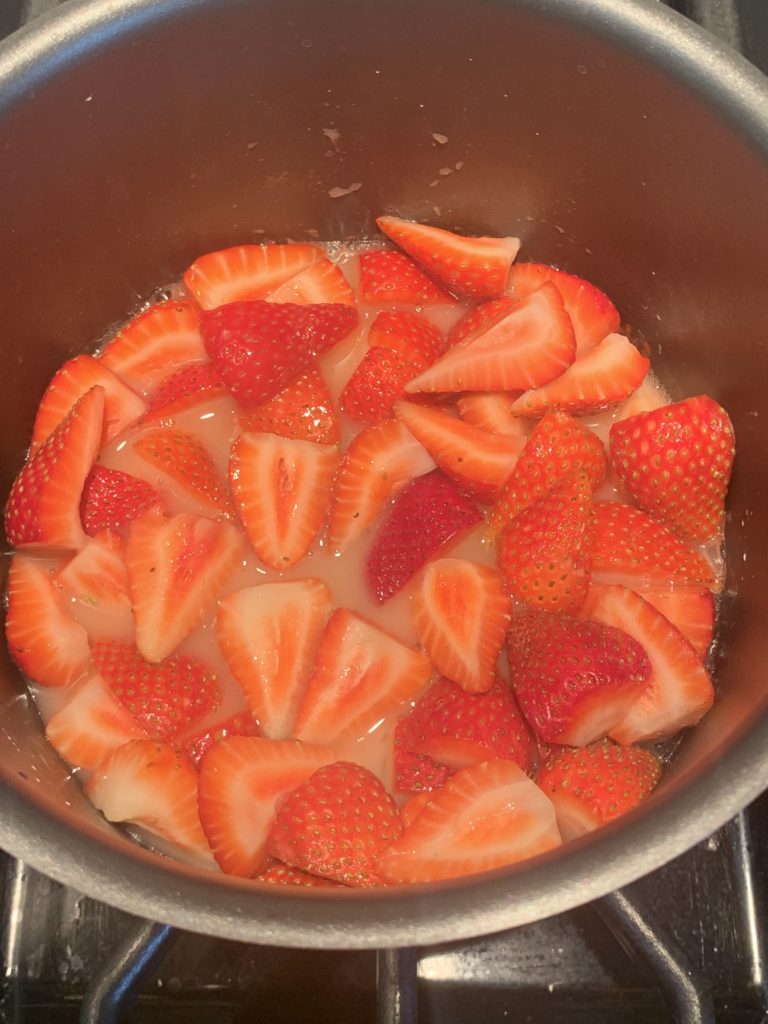
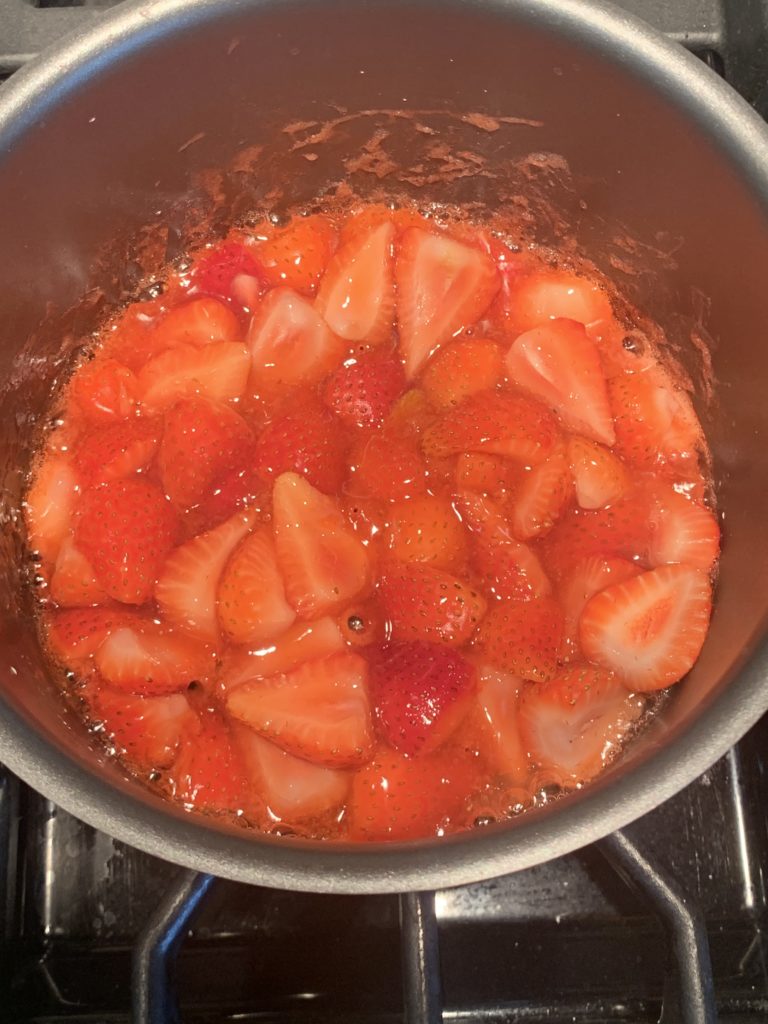
First up – strawberry sauce! As I said above, you can of course leave this out, or swap out with any other berry your heart desires. Raspberry, cherry, blackberry, blueberry.. a mixture?! The possibilities are endless. Start by taking around 8oz of fresh strawberries (this is half of a 1-pound container, or around 14 medium sized strawberries), and cut them into quarters. In a small saucepan combine 3 tbsp of warm water with ½ tbsp of cornstarch and mix until combined. Then add into the pan the strawberries, 1 tsp lemon juice, and 2 tbsp sugar (see Ingredients Needed section to see how to make these sugar free).
Turn the heat on medium and bring the mixture to a simmer, gently stirring and pressing down on the berries during this time to release extra juices. Let it simmer for 3-5 minutes before removing from the heat. In these photos the first one is all the ingredients right when they get into the pan, the second is right before removing from the heat.
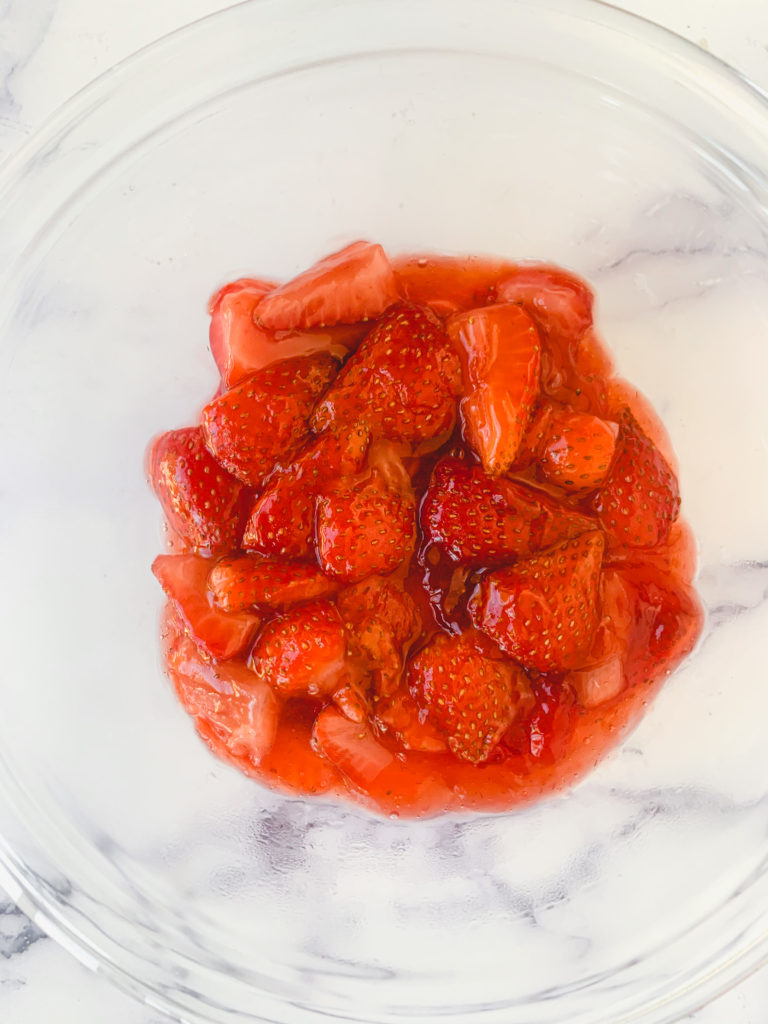
If you want to just use the sauce as topping, then you are done, you can let it come to room temperature then seal in an air-tight container and keep in the fridge until you’re ready to use it. If you want to use some of the liquid to make the swirl design on top of the cheesecake layer, then reserve a few tsps of liquid and set aside until you’re ready to build the bars.
Cheesecake Layer..
Next up – the cheesecake layer! Start by making sure your vegan cream cheese is at room temperature. This will ensure that it’s extra smooth and creamy, and will combine with the other ingredients with ease. Then get a can of coconut cream, and be very careful not to shake it up. The part that you want is the solidified, “heavy cream” like part that rises to the top of the can, not the liquid part at the bottom of the can. When you open it, scoop this portion out, and leave the watery part over. If you are using a 13.5 or 14oz can, the solid part will likely be around 7oz. You can weigh this on a handy dandy kitchen scale if you want to be precise, or if you don’t have a scale, it will come out to around 14 tbsp of creamy part.
Combine the vegan cream cheese, coconut cream, sugar, vanilla extract, lemon juice, cornstarch, and a pinch of salt into a large bowl. I use a simple hand mixer to combine it all for a few minutes until it’s perfectly smooth, you can use a fancier mixer if you have one, or if you don’t have anything then just mix very thoroughly by hand. Once the filling is ready, set aside.
Brownie Layer..
This part is last since the brownies bake at their best and fudgiest if the batter is still a little warm, so as soon as the batter is ready you want to transfer it into the pan and build the rest of the bars and get them into the oven soon after.
The brownies are just exactly my Vegan Fudgy Brownie recipe. Check out that page if you want even more detail! The basics are – you want to prep all your ingredients in advance so you can move quickly and keep the batter warm throughout. Mix the flour, cocoa powder, and salt in a small bowl. Separately have your non-dairy milk measured out and either room temperature or WARM, your vanilla extract ready to go, and your sugar (or sweetener) near the stovetop since that is added while it’s still on the double boiler.
You start by putting your vegan chocolate and vegan butter in a heat-proof bowl, and putting it on top of a double boiler*. Once they are completely melted and smooth, add the sugar and mix again until combined. Then remove the bowl from the heat and add in the vanilla extract and non-dairy milk, then mix until it’s fully combined. Finally add in the dry ingredients and mix until JUST combined, I even like to get in there with my hands as if it’s cookie dough.
*If you have not made a double boiler before, it’s simple! The idea here is you boil a little bit of water in a pot, and rest your bowl on top of the pot so the steam from the boiling water melts your chocolate and vegan butter together. The most important thing here is to be sure the water from the pot does not touch the bottom of the bowl.
Putting them together..
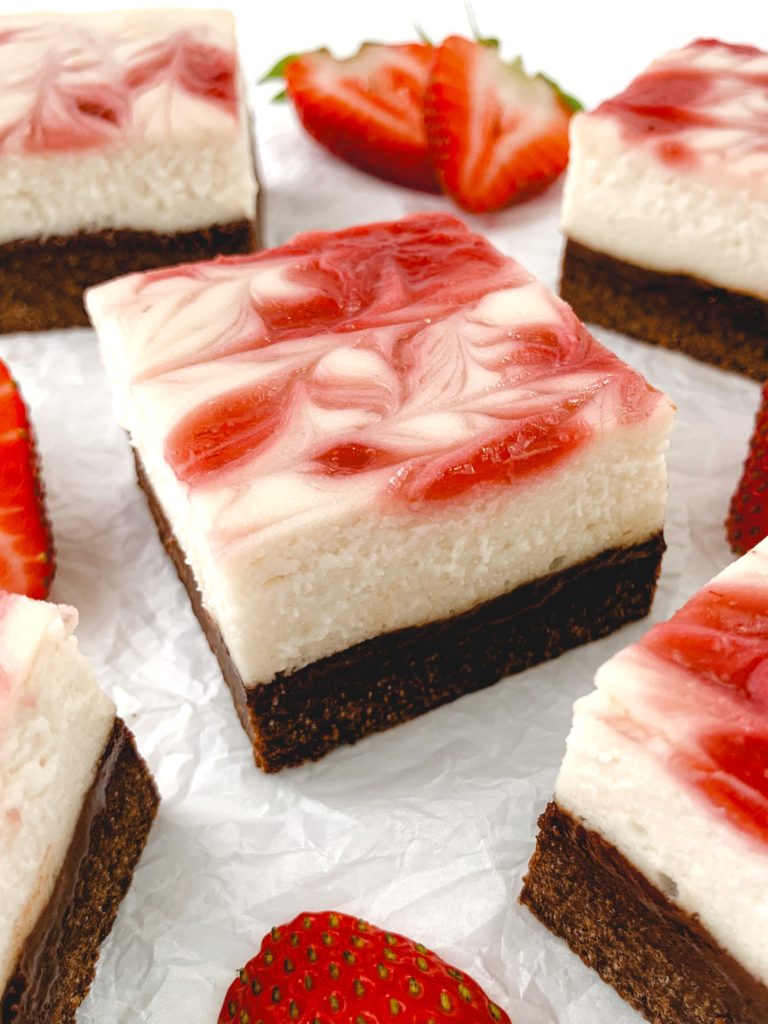
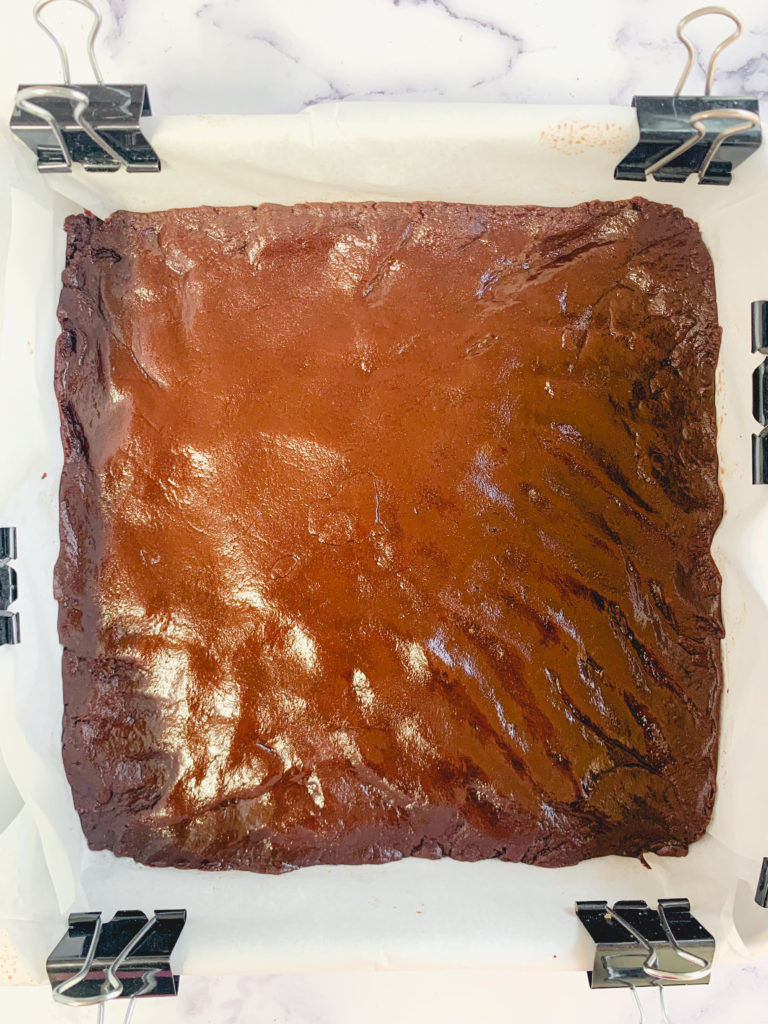
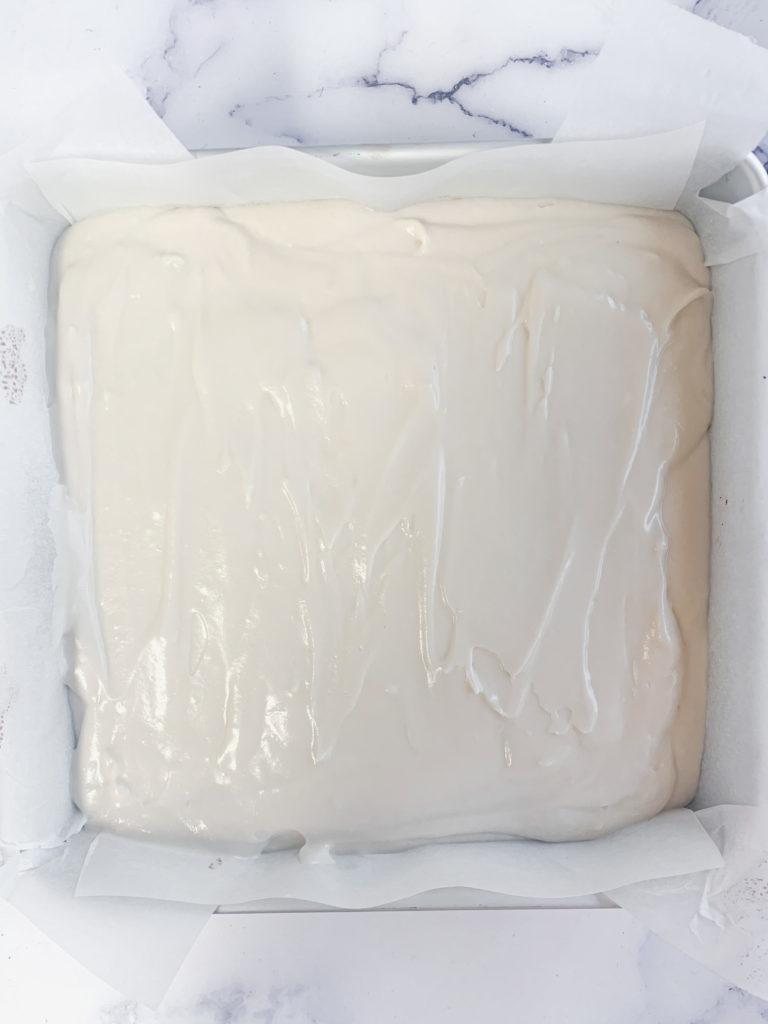
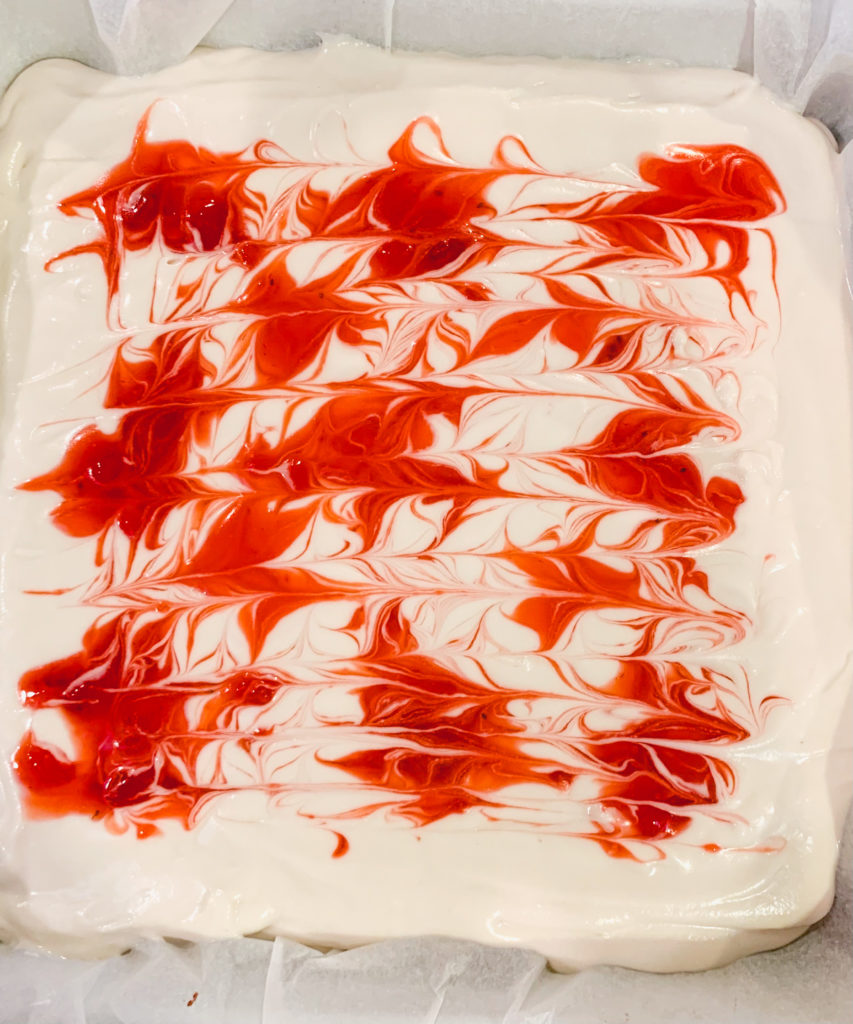
Are we ready to put these vegan cheesecake brownies together?? This is the easiest part. Start by pressing the brownie batter into the bottom of a parchment lined 8×8 pan. Then pour the whole cheesecake mixture in. Lastly, if you want to make a strawberry swirl on the top, dollop on a few teaspoons of the liquid part of the sauce, and use a toothpick to gently swirl it into shapes over the top.
Note – I use binder clips to keep the parchment paper out of the way while I get the brownie batter into the pan, but I remove them before putting into the oven!

Move the pan into the oven, and bake them at 325 degrees for exactly 30 minutes. Remove the pan and place it directly onto a cooling rack so air can circulate around the bottom of the pan too. When you take the pan out of the oven, the center will still be very jiggly – this is okay! Don’t panic! That’s how it should be. Leave them cooling until they’ve come to room temperature, an hour or so, then move the pan into the fridge. Ideally you will leave them in there overnight before removing the bars and cutting into them, but if you’re pressed on time it should be okay after 4ish hours in the fridge.
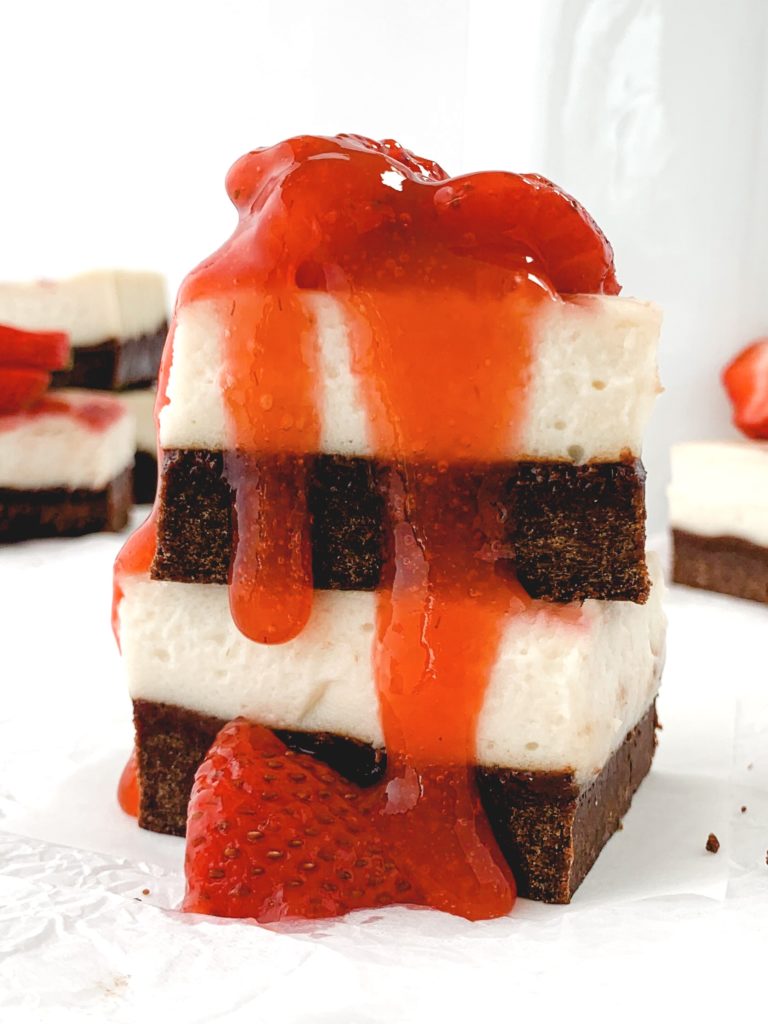
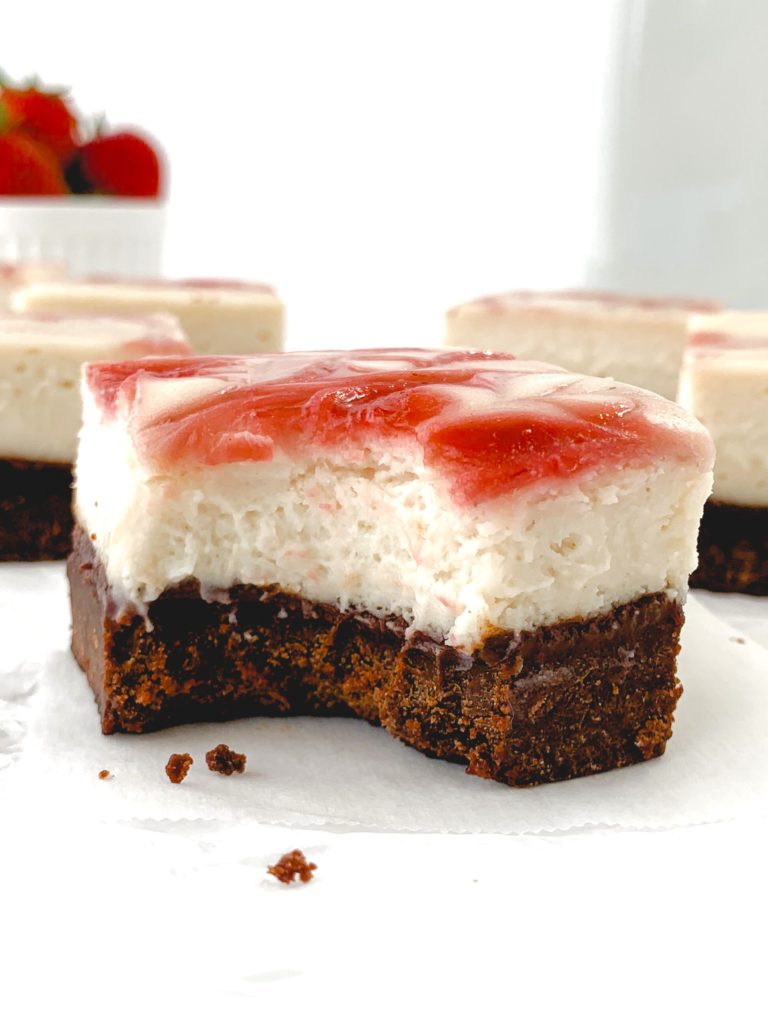
When it’s time, carefully pull out the parchment paper to get the whole thing out of the pan, and cut them into squares with a sharp knife. I recommend wiping down the knife between each cut so you don’t get chocolate bits into the cheesecake layer, keep it looking pretty!! And don’t forget you’ve got that delicious fresh strawberry sauce in the fridge that now you can pour over the top!
Time to eat your vegan cheesecake brownies!!
Storage:
Keep the bars in the fridge, they will stay good for about 5 days, or you can freeze them for up to a few months.
Pro Tips & Tools:
- Make sure you are measuring your flour either by weight or using the spoon and level method. Do not scoop directly from the container, as you will wind up with too much! This is so important! If you want to buy a pre-made gluten free flour blend, make sure it’s King Arthur’s Measure for Measure Gluten Free Flour, it is BY FAR the best one for my recipes, NOT Bob’s Red Mills or any others. If you want to make a homemade blend, here is a link to the one I use.
- Make sure you measure your liquid ingredients using liquid measuring cups. This will ensure accuracy! I love this set.
- The chocolate I use in the brownies is 56% cacao. I’d recommend staying around this zone. These are the bars I work with, which are so easy since each piece has the ounce amount stamped right into it.
Ingredients Needed:
- Strawberries – optional, if you are making the strawberry sauce. You can swap out for any berry you want – blueberry, blackberry, cherry, raspberry..
- Warm water
- Cornstarch
- Lemon juice
- Granulated sugar – If you want to make these sugar free, I love using this Monkfruit Sweetener in place of granulated sugar.
- Coconut cream – make sure you’re using a good can of coconut cream, this brand is my go-to. As I explain in detail above, you want to keep the can unshaken that way you can scoop the solid part from the top, and leave over the watery part at the bottom.
- Vegan cream cheese – I am fond of the Kite Hill brand, and they come in 8oz packages.
- Vanilla extract
- Salt
- Vegan butter – I use Earth Balance sticks
- Vegan chocolate for melting – I use these chocolate bars for my melting chocolate. You can use any you want, but if you are using chocolate chips I strongly recommend weighing them to make sure it’s the right amount, as the brownie portion of this recipe is specific on measurements. If you don’t use this exact one, try to stick to something around 56% cacao.
- Non-dairy milk – any type should work here. I usually use soy or almond.
- Flour – Make sure you are measuring your flour either by weight or using the spoon and level method. Do not scoop directly from the container, as you will wind up with too much! This is so important! If you want to buy a pre-made gluten free flour blend, make sure it’s King Arthur’s Measure for Measure Gluten Free Flour, it is BY FAR the best one for my recipes, NOT Bob’s Red Mills or any others. If you want to make a homemade blend, here is a link to the one I use.
- Cocoa powder
What To Bake Next:
- Want the brownie layer but in cookie form? Try these Vegan Fudgy Brownie Cookies. Or for other chocolate goodness, try these Vegan Classic Chocolate Cupcakes, or these Vegan Copycat Thin Mint Cookies, or this Vegan Triple Chocolate Cake.
- Want more use out of your 8×8 pan? Try these Vegan Lemon Bars, or this Vegan Coffee Cake, or these Vegan Pecan Pie Bars, or these Vegan Raspberry Crumble Bars.
- Can’t get enough of that vegan cream cheese? Try Vegan Carrot Cake in cake form or cupcake form, or Vegan Red Velvet Cake in cake form or cupcake form.
Vegan Cheesecake Brownies with a Fresh Strawberry Sauce (Sugar Free and Gluten Free options)
Ingredients
Fresh Strawberry Sauce Ingredients
- 8oz fresh strawberries this is around 14 medium sized strawberries, and you can swap out for any other berry you want – raspberry, blackberry, cherry, blueberry, etc.
- ½ tbsp cornstarch
- 3 tbsp warm water
- 1 tsp lemon juice
- 2 tbsp granulated sugar *if you want a sugar free option, this links to my favorite sweetener, you can substitute it 1:1 in place of regular granulated sugar
Cheesecake Filling Ingredients
- 16oz vegan cream cheese at room temperature
- 7oz / 14 tbsp coconut cream – JUST the cream part important – do NOT shake the can, you only want the cream part that rises to the top, NOT the liquid part that sinks to the bottom. When you scoop this out of a 13.5 or 14oz sized can, it will come to around 7oz or around 14 tbsp worth of cream
- ½ cup + 3 tbsp granulated sugar *again, if you want a sugar free option, this links to my favorite sweetener, you can substitute it 1:1 in place of regular granulated sugar
- 2 tsp vanilla extract
- 3 tbsp cornstarch
- 1 tbsp lemon juice
- small pinch of salt
Brownie Base Ingredients
- 5 tbsp vegan butter
- 6oz vegan chocolate around 56% cacao ideally
- 1 cup granulated sugar *one last time, if you want a sugar free option, this links to my favorite sweetener, you can substitute it 1:1 in place of regular granulated sugar
- ¼ cup non-dairy milk room temp or slightly warm
- 1 tsp vanilla extract
- 1¼ cups + 2 tbsp gluten free flour can sub all-purpose if desired. This links to my favorite store bought gluten free flour blend that works best with all of my recipes, or see "Ingredients Needed" section for further info.
- 1/3 cup + 1 tbsp unsweetened cocoa powder
- 1 heaping tsp salt
Instructions
- Preheat the oven to 325°F and line an 8×8 pan with parchment paper. If you want to make this in a 9×13 pan, simply double all the ingredients.
- Fresh Strawberry Sauce: this is optional, and you can use any berry you want here if strawberry isn’t your thing (raspberry, blueberry, blackberry, cherry would be my next picks). If you are making the sauce, start by cutting the strawberries into quarters. Mix the cornstarch and warm water together in a small saucepan, then add in the strawberries, lemon juice, and sugar, and stir together.Heat on medium heat until the mixture begins to simmer, then cook down for 3-5 minutes. Gently press on the strawberries during this time to help release the juices. Remove from heat. If you plan to use some of the liquid to make a swirl on top of the cheesecake layer, reserve a few tsps of the liquid part of the sauce now, and let the rest come to room temperature then seal in an air-tight container and store in the fridge until use.
- Cheesecake Filling: the biggest thing to consider in this part is the coconut cream. You really want to just use the solid, “heavy cream” like part that rises to the top of the can, not the liquid on the bottom. This means do NOT shake the can before opening. As long as it’s been upright and undisturbed, it should have separated. When you remove this part it will come to around 7oz or 14 tbsp worth of cream.In a large bowl, mix together this measurement of coconut cream with the rest of the ingredients listed in this section – vegan cream cheese, sugar, vanilla extract, cornstarch, lemon juice, and a pinch of salt. Mix together with a hand mixer or stand mixer until completely combined, or if you do not have a mixer just mix incredibly thoroughly by hand.
- Brownie Base Layer: start by prepping all of the ingredients. Mix the flour, cocoa powder, and salt in a small bowl and set aside. Measure out the non-dairy milk and make sure it is room temperature or warm, measure out the vanilla extract, and have the sugar handy by the stove. Put the vegan butter and chocolate into a heat-proof bowl that can be used for a double boiler. This is explained at length above if you need a tutorial!Melt the chocolate and vegan butter together on the double boiler. Once combined, while still on the double boiler, add in the sugar and mix for another minute or so until combined. Take off the heat and add in the vanilla extract and non-dairy milk, and yet again, mix until fully combined. Fully, add in the dry ingredients and mix until JUST combined, do not over-mix! I actually use my hands for this part for the most control.
- Putting it all together: finally, start by pressing the brownie batter evenly onto the bottom of the parchment lined pan. Then pour the cheesecake filling over the top and smooth it out. Finally, if you want to make a berry swirl, add a few dollops of the berry liquid and use a toothpick to swirl it around.
- Bake for exactly 30 minutes, and when you remove the pan from the oven be sure to put it directly onto a cooling rack, that way air can circulate around the bottom of the pan too. Note that when you take the pan out of the oven the center will still appear very jiggly – this is correct! Let it come to room temperature, around an hour, then move into the fridge to set. Ideally you should leave the bars overnight, but if you’re in a time crunch they should be okay after about 4 hours.
- Eat and enjoy!