


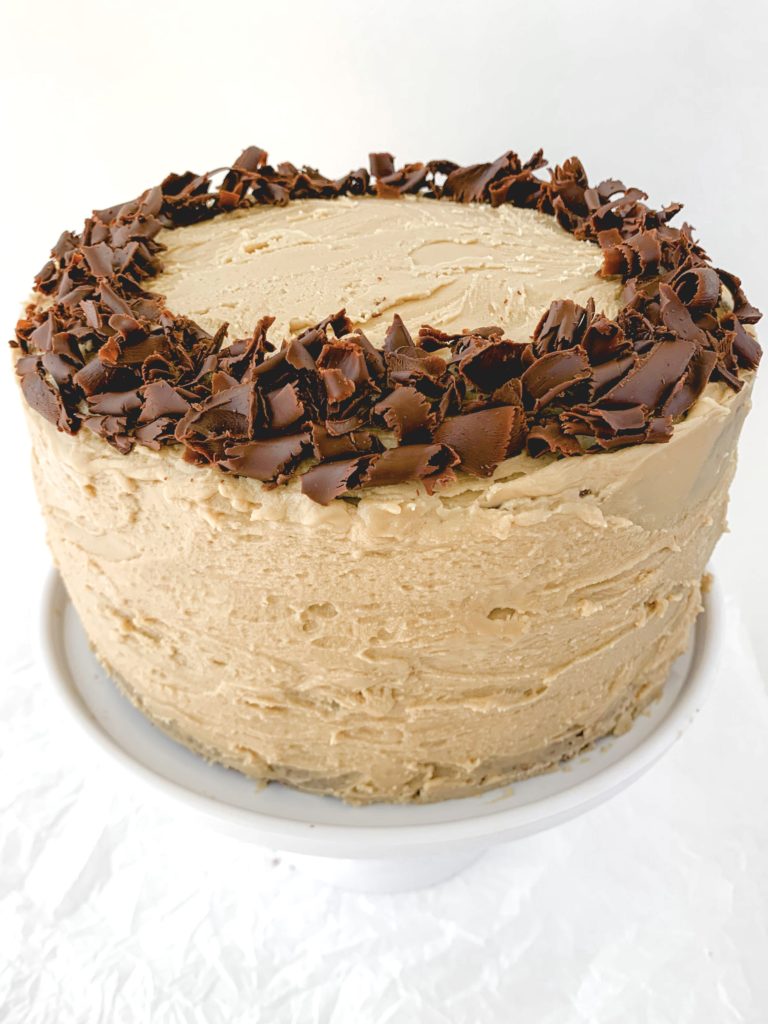
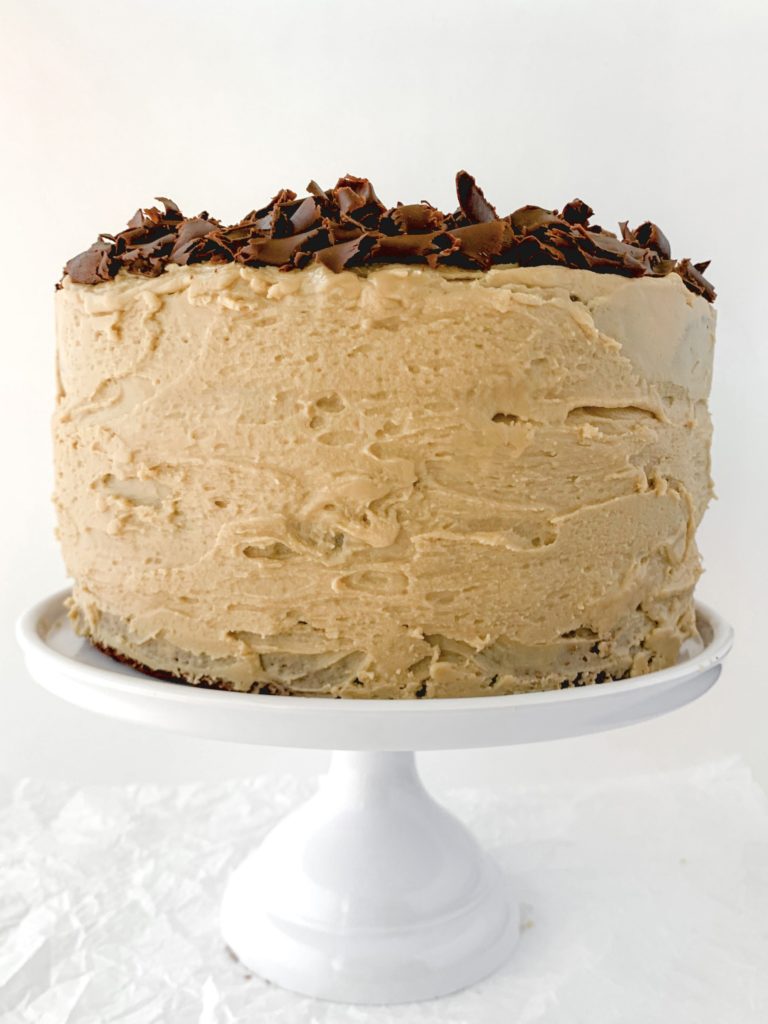
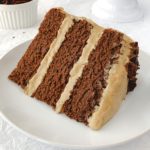
This cake is made with layers of moist and deeply chocolatey cake, luxurious vegan salted caramel frosting, and rich chocolate shavings on top. Oh right, and it’s undetectably VEGAN. Anyone looking for a new favorite cake?!


Hello and welcome to my FAVORITE CAKE on my own website!! I know you’re not supposed to play favorites with your babies but.. oh man this one is just too good to not single out.
Here’s the thing about this cake – every individual part is delicious, but together it’s like a masterful symphony playing beautiful music at once.
That being said, if you want to make a chocolate cake but use a different frosting, then go snag a chocolate frosting recipe from these Chocolate Cupcakes, or a vanilla one from these Funfetti Cupcakes, or a cream cheese one from these Carrot Cake Cupcakes. Or if you want to go even harder on your chocolate cake needs, try this Triple Chocolate Cake. ORRRR if you want to just make the vegan salted caramel frosting but put it on other stuff, head over to this Marbled Banana Bread, or might I suggest eating it straight off a spoon? Or just make the chocolate shavings and put them over.. everything?
No matter which part you’re here for, let’s get baking!!
How To Make It
There are three big elements to this dish – the chocolate cake, the vegan salted caramel frosting, and the chocolate shavings. Each takes a little bit of time, so I’m going to walk you through each one individually, as well as the order of operations I think is best. Buckle up!
Pre-step one – take your non-dairy milk out of the fridge, as you’ll want that to be room temperature before getting to the cake portion.
The salted caramel..
First up – making the salted caramel for the vegan salted caramel frosting. It might seem odd to start here, but the mixture is BOILING and you really want it to be back to room temperature (or at least close to that) before turning it to frosting, so you want to give it time to cool. For this part we are just going to do the caramel sauce, we will actually turn it into frosting a few steps later.
One important note – the amount I outline here will give you basically EXACTLY the amount I used in the photos throughout this entry. If you like a heavier frosting, or want some frosting insurance in case you mess some up along the way, I suggest doing 1.5x the recipe. You will have a lot leftover, but because this frosting includes a ton of cooling time for the sauce, you don’t want to get to the very end of this process and find out you wish you’d made more.
Anyway, making the sauce is crazy easy. You melt the vegan butter in a small pot or saucepan over medium heat, then add in 4 tablespoons of coconut milk or cream*, 2 packed cups of brown sugar, and ½ tsp salt.
quick coconut milk note..
*If you open a can of coconut milk, sometimes it will have a milky consistency, and sometimes the top will be more like heavy cream and the watery part will have separated to the bottom. I have tried this recipe both with a shaken up can that is milkier, and with the separated thicker, creamier part, and both work well. So don’t worry about which way your can opens! You’re good to go.
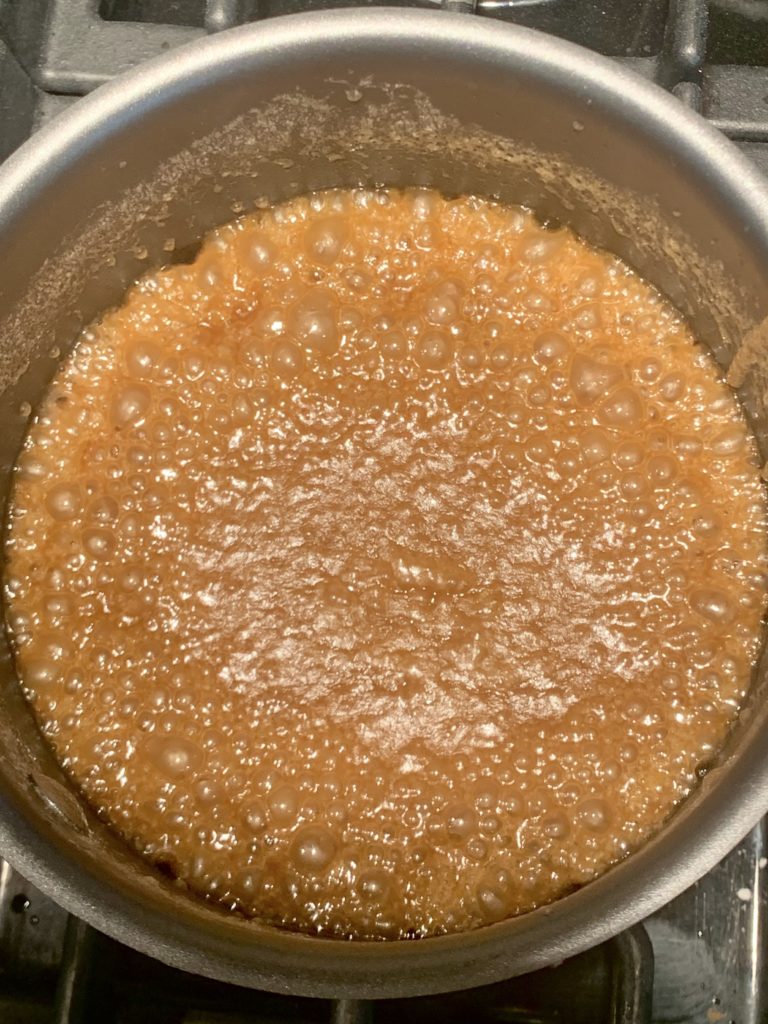
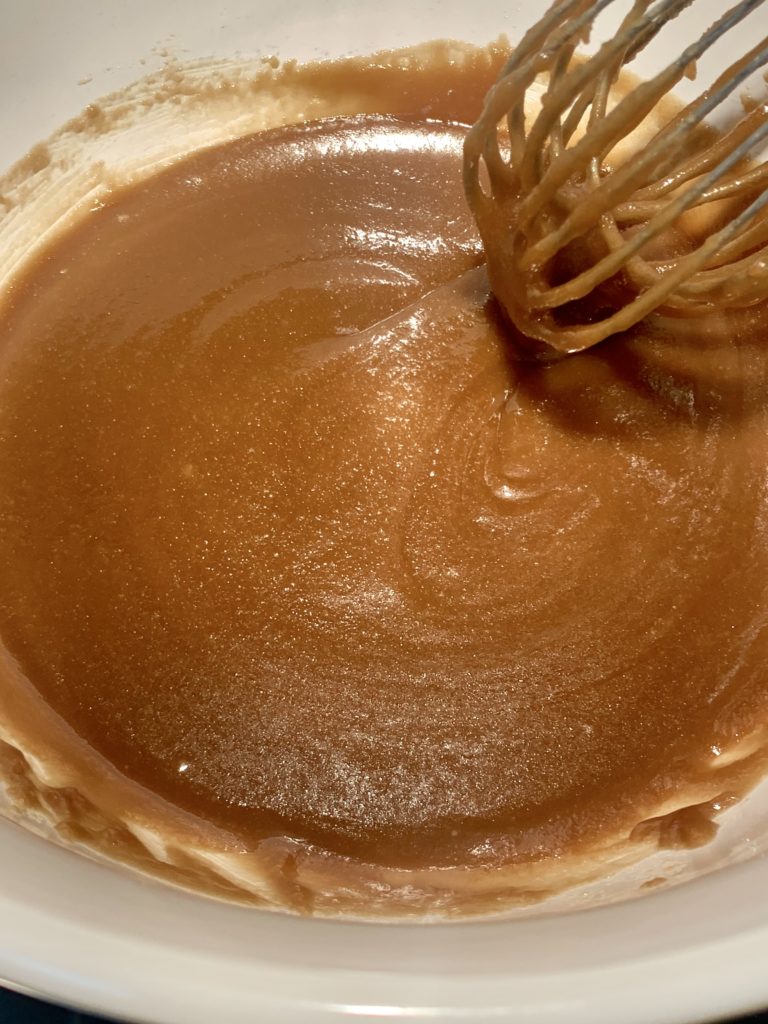
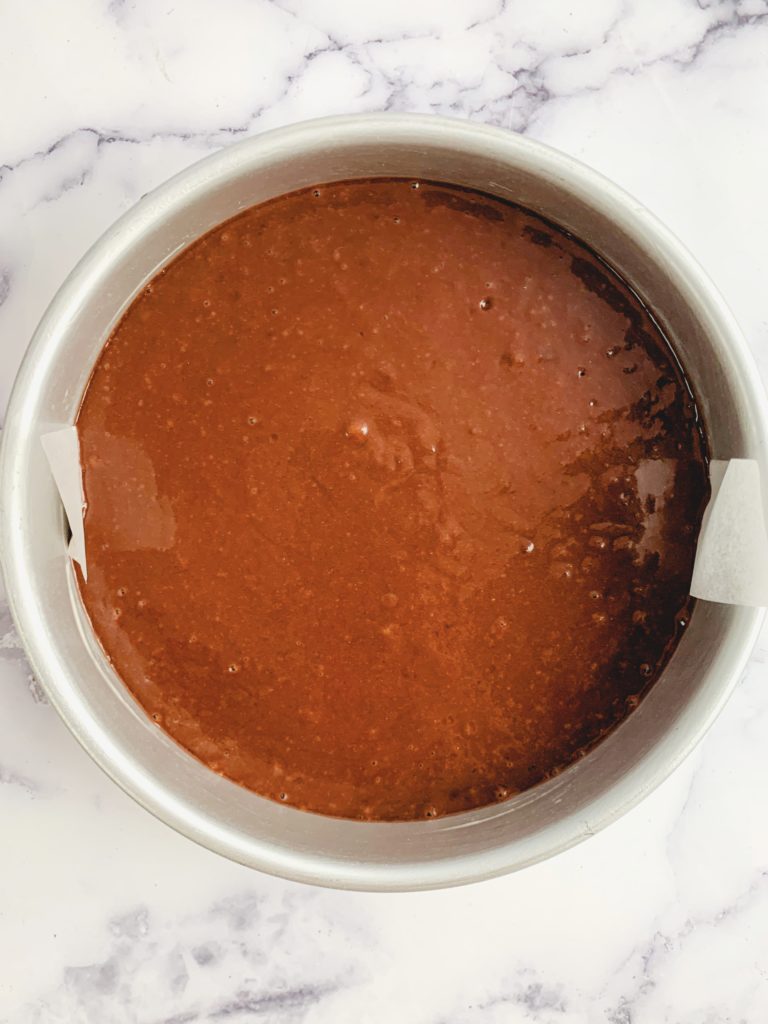
Whisk it all together until it’s dissolved, then continue to whisk every 30 or so seconds for about 4 minutes. See photo one below for how it looks while on the stove. Take it off the heat and pour into a very large, heat proof bowl. Ideally this will also be the bowl in which you intend to make the frosting later, but it’s okay if it’s not, it will transfer. Place the bowl on top of a cooling rack so air circulates around the entire thing, and let it come to room temperature over the next hour or so. I like to continue to whisk it occasionally to make sure it doesn’t harden too much. See photo two for how it looks while cooling in the bowl.
The cake layers..
The amounts I use here are for 3 layers, but if you want fewer (or more) then of course just alter the batch size. Start by prepping two of the wet ingredients that need some advance work. One is the vegan buttermilk. For starters, your milk should be room temperature. If not, put it in the microwave for a few seconds until it’s room temp or even slightly warm. Then, time to make the vegan buttermilk! Haven’t done this before? It’s so easy! Basically you use non-dairy milk and mix it with a bit of apple cider vinegar, white vinegar, or lemon juice, and let it sit for a few minutes to curdle. This gives it a thicker texture and keeps the end result extra moist and well formed.
Next wet ingredient prep is the coconut oil, which will be melted for this recipe. Melt that and set aside. Remember to measure out the cup when it is MELTED, and not before. And remember to use liquid measuring cups!!
In a large bowl, combine all the dry ingredients – (optionally) gluten free flour, unsweetened cocoa powder, granulated sugar (see Ingredients Needed section to learn how to make the cake layers sugar free!), baking powder, and salt. Then add in your wet ingredients – vegan buttermilk, melted coconut oil, applesauce, HOT or boiling filtered water, and vanilla extract. Don’t ignore the part where I say the water should be hot! This helps make the cake ultra rich and moist!
Mix until combined, then pour evenly into parchment lined & greased cake tins. I like to weigh each one with my handy dandy kitchen scale to make sure they’re all roughly the same weight, that way they all look uniform and pretty at the end.
(Reminder to keep whisking your caramel sauce every so often!)
Bake bake bake!
Bake at 350 degrees for about 25 minutes. That’s the exact right time for my oven, so if you know yours runs hot, perhaps start to check it with a toothpick at 22/23 minutes, and if it takes a bit longer perhaps go up to 27/28 minutes. As soon as a toothpick emerges with just crumbs, no batter, get those babies out of there!
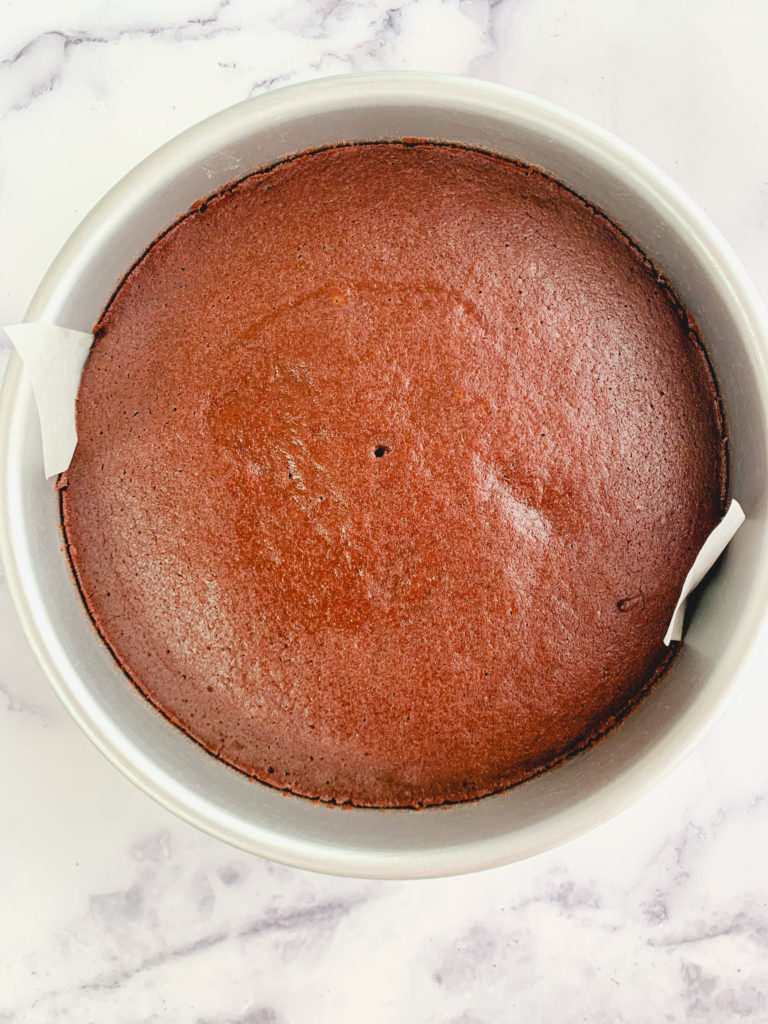
Let them cool in the pan for about 15 or so minutes, then flip them out onto cooling racks. Let them come to room temperature this way, or put in the fridge to chill. Personally I find cakes MUCH easier to frost when they are cold. And you likely need your caramel sauce to continue cooling a bit more before you make the frosting, so you’ve got the time to chill these layers!
The chocolate shavings..
Next up if you want to make chocolate shavings for the top of the cake, this is a great thing to do while everything is cooling down. The cake definitely doesn’t need anything more than just the cake itself and the frosting, it’s already delicious like that, but personally I love the extra pop of chocolate, and also the way the delicate shavings look. If you want the taste and the look but can’t handle another step, feel free to just toss some vegan chocolate chips (I love these for dark chocolate and these for semi-sweet) or sprinkles over the top!
(Friendly reminder to keep whisking your caramel sauce every so often!)
If you are making the chocolate shavings, here’s what you do – take 2oz of vegan chocolate (I use these bars) and 2 tsp of neutral oil and melt together either in a double boiler or the microwave. Then pour it onto the bottom of a large sheet pan and use an offset spatula to spread the chocolate into a very thin layer across the bottom of the pan. Pop it into the freezer like this for about 4-5 minutes, then when you remove it you can scrape the shavings off with a metal spatula (or even the offset spatula again) either into pretty curls if you’re skilled that way, or just into shavings.
If they start to melt, pop the pan back into the freezer for a few minutes. If they are breaking too quickly, let it warm up for a minute or so as it may be too frozen in that moment to work with. Once you have your shavings, put onto a plate or into a bowl and stick those back in the freezer to remain there until you’re ready to decorate the cake.
The frosting..
OKAY. Are you tired of reading this? I’m tired of writing it. We’re almost done. Final step here before putting it all together is turning that delicious sauce into an even more delicious frosting! That’s right, it’s vegan salted caramel frosting time! Hopefully by now it is room temperature, or at least not piping hot. Add into your bowl 6 more tablespoons of the coconut milk, and ultimately 5 cups of powdered sugar, but I like to add a little as a time as I go. I use a simple hand mixer to make frosting, but if you have a fancier mixer situation then yay for you! Scrape down the sides as you go, and continue until you’ve added all the powdered sugar. If you find it a bit too thick, add some more coconut milk. If it’s a bit too thin, add some more powdered sugar.
Now it’s time to put the cake together!! I am not going to go into detail here, I’m not an expert at frosting cakes, so if you need a full tutorial I suggest looking up a video on how best to do it. But basically – frost the bottom layer, then stick on the middle layer and do that, then the top layer and do that, and frost the outside.. sometimes I like to pop it all into the fridge for a few minutes as I go to keep it all cold, as I find it easier to work with that way. If you want to add your chocolate shavings over the top, don’t forget about those in the freezer!
And that’s it! A dozen paragraphs later, you have a delicous chocolate cake with rich vegan salted caramel frosting!!
Storage
After the cake has fully cooled, store in the refrigerator in a cake carrier or any other air-tight container for up to 5 days. You can also freeze pieces to eat later on.
Pro Tips & Tools:
- Make sure you are measuring your flour either by weight or using the spoon and level method. Do not scoop directly from the container, as you will wind up with too much! This is so important! If you want to buy a pre-made gluten free flour blend, make sure it’s King Arthur’s Measure for Measure Gluten Free Flour, it is BY FAR the best one for my recipes, NOT Bob’s Red Mills or any others. If you want to make a homemade blend, here is a link to the one I use.
- Make sure you measure your liquid ingredients using liquid measuring cups. This will ensure accuracy! I love this set.
- If you are using chocolate shavings, make sure they the chocolate is vegan! I use these bars to make shavings, or if you’d rather just use chips, I love these for dark chocolate and these for semi-sweet.
- If you don’t use coconut milk often, make sure you use a good canned option. This one is my personal favorite and I always keep a few cans in the pantry for “emergencies”. You never know when you will have a vegan salted caramel frosting emergency..!!
- Need any other tools I’ve used here? For the cake itself I use these cake tins, these parchment liners, and this kitchen scale to make sure each layer is the same size. For the frosting, I use this simple hand mixer. And to frost the cake you can use a simple offset spatula, or spring for this whole set of cake stuff.
Ingredients Needed:
- Vegan butter – I use Earth Balance sticks
- Brown sugar – light or dark, my personal preference is light
- Coconut milk or coconut cream – I go into more detail about this above, but you can use any canned coconut milk you want (this is my go-to brand) and it’s okay if the can is a milky consistency, or if you get one where the creamy part has risen to the top
- Salt
- Powdered sugar – similar to the granulated sugar note, if you want to make these sugar free, you can use this powdered sweetener in place of powdered sugar.
- Flour – Make sure you are measuring your flour either by weight or using the spoon and level method. Do not scoop directly from the container, as you will wind up with too much! This is so important! If you want to buy a pre-made gluten free flour blend, make sure it’s King Arthur’s Measure for Measure Gluten Free Flour, it is BY FAR the best one for my recipes, NOT Bob’s Red Mills or any others. If you want to make a homemade blend, here is a link to the one I use.
- Unsweetened cocoa powder
- Granulated sugar – If you want to make these sugar free, I love using this Monkfruit Sweetener in place of granulated sugar.
- Baking powder – I recommend using one that has no added aluminum. This one is my go-to.
- Non-dairy milk – any will work, I use soy
- Apple cider vinegar (or white vinegar or lemon juice) – to curdle the vegan buttermilk
- Coconut oil
- Unsweetened applesauce
- Hot or boiling water
- Vanilla extract
- Vegan chocolate – optional for shavings or chips over the top
- Neutral oil (or more coconut oil) – optional if you are making the shavings

What To Bake Next:
- Want more use out of your cake pans? Try this Vegan Triple Chocolate Cake, or this Vegan Red Velvet Cake, or this Vegan Carrot Cake.
- Want more chocolate in other forms? Try these Vegan Thin Mint Cookies, or these Vegan S’mores Cupcakes.
- Okay sorry two more chocolate options.. how about these Vegan Fudgy Brownies, or a twist on them, these Vegan Fudgy Brownie Cookies !
Vegan Chocolate Cake with Salted Caramel Frosting (Gluten Free option)
Ingredients
Salted Caramel Frosting Ingredients *note this makes EXACTLY the amount seen in these photos. If you want more frosting, or want to make sure you won't run out if you mess anything up along the way, do 1.5x this amount to be safe.
- 1 cup (2 sticks) vegan butter
- 2 PACKED cups brown sugar
- 10 tbsp coconut milk or coconut cream divided
- ½ tsp salt
- 5 cups powdered sugar *if you want a sugar free option, this links to my favorite powdered sweetener, you can substitute it 1:1 in place of regular powdered sugar
Chocolate Cake Ingredients *note this makes THREE layers
- 3 cups gluten free flour can sub all-purpose if desired. This links to my favorite store bought gluten free flour blend that works best with all of my recipes, or see "Ingredients Needed" section for further info.
- 1 cup + 2 tbsp unsweetened cocoa powder
- 3 cups granulated sugar *if you want a sugar free option, this links to my favorite sweetener, you can substitute it 1:1 in place of regular granulated sugar
- 1 tbsp baking powder
- ¾ tsp salt
- 1½ cups non-dairy milk room temperature
- 1 tbsp apple cider vinegar can also be lemon juice or white vinegar
- 1 cup MELTED coconut oil
- 6 tbsp unsweetened applesauce
- 1 cup filtered water HOT or boiling
- 1 tbsp vanilla extract
Chocolate Shavings Ingredients *optional
- 2 oz vegan chocolate bars or chips
- 2 tsp neutral oil or coconut oil
Instructions
- There are a lot of pieces to this recipe, so if you have the time, I recommend reading the How To Make It section above to go more in depth here. The order of operations will be – making the vegan salted caramel sauce, then making the cake while the sauce comes to room temperature, then making the chocolate shavings if you are using those, then making the caramel sauce into frosting, then putting it all together.
- In advance – preheat the oven to 350°F and grease 3 8-inch cake tins plus line with parchment rounds if you have those. Remove the non-dairy milk from the fridge as that will need to be at room temperature later on.
- Make the salted caramel sauce: Note that the amount of sauce and ultimately frosting amounted for in this recipe will get you pretty much EXACTLY the amount of frosting you see in the photos I’ve used in this entry. If you plan to frost your cake more heavily, or if you want some extra in case of mishaps, you may want to do 1.5x the amount here, but I am warning you that will be a LOT. In a small pot or saucepan, melt the vegan butter, and then add in the brown sugar, salt, and 4 tbsp of coconut milk or cream, setting aside the other 6 tbsp for later. Whisk until fully combined, then let it bubble and continue to whisk every 30 seconds or so for about 4 minutes. After 4 minutes, pour the sauce into a large heat-proof bowl (ideally whatever bowl you will make the frosting in later on). We do this first since you want the sauce to come to room temperature before making it into frosting, so place the bowl onto a cooling rack that way air circulates around the bottom as well, and set aside for about an hour. I like to whisk mine every so often during this time to make sure it doesn’t harden.
- Make the cake: Note this recipe has the amounts for THREE layers. If you are making fewer layers or more layers, be sure to adjust your amounts accordingly. Start by prepping some of the wet ingredients – first off, your non-dairy milk should be room temperature. If it’s not, heat it for a few seconds in the microwave until it’s room temp, you don’t want it to be cold here. Then make vegan buttermilk by combining the non-dairy milk with apple cider vinegar, stir, and let sit for 5-10 minutes to curdle. Next, melt the coconut oil. Remember to measure it based on the melted amount.
- In a large bowl, mix together the dry ingredients – flour, cocoa powder, granulated sugar, baking powder, and salt. Then add in the vegan buttermilk, melted coconut oil, unsweetened applesauce, HOT or boiling filtered water, and vanilla extract. Fully combine, then pour evenly into your greased and lined cake pans. Bake for 23-28 minutes – mine are perfect at exactly 25 – check to be sure they’re done by sticking in a toothpick and removing the pans when the toothpick comes out with just crumbs, not wet batter.
- Set aside your cake pans to cool for about 15 minutes before removing the cake from the pan and putting onto a cooling rack to come to room temperature. Personally I like to let them come to room temperature for a few minutes and then stick in the fridge, as I find it easier to build a layer cake when the cake itself is cold.
- Make the chocolate shavings: if you want to use chocolate shavings, make these while the cake is either baking or cooling. Melt the vegan chocolate with neutral or coconut oil, either in the microwave or using a double boiler. Pour the chocolate onto the bottom of an overturned sheet pan and spread into a very thin layer – I use an offset spatula to do this. Stick the pan into the freezer for about 4-5 minutes, then remove and use a metal spatula or the offset spatula again to scrape the chocolate off. If you are skilled, you can make them into curls, or just use as shavings. If the chocolate is melting, put it back in the freezer for a few minutes. If it’s breaking too easily, let it warm up for a minute before trying to scrape it off again. Collect curls or shavings on a plate or in a bowl and stick back into the freezer to remain there until ready to be used.
- Make the frosting: by now your caramel sauce should be at room temperature. Add the additional 6 tbsp of coconut milk or cream to the bowl, and then ultimately you will also use 5 cups of powdered sugar, but I like to add a little at a time, mixing and scraping down the bowl along the way. I use a hand-mixer to make frosting, of course you can use a fancier mixer too. If the frosting is too thick, add some more coconut milk. If it’s too thin, add some more powdered sugar. Once it’s at your desired consistency, it’s time to build the cake.
- Build the cake: If you are not comfortable frosting a cake, I highly recommend checking out some videos online, as it looks scarier than it is! But basically – frost one layer at a time, adding as much as you want to the top and sides as you go, and stacking the layers evenly atop one another. It often helps to stick everything into the fridge occasionally as you go to keep it all cold and easier to work with. Finally, sprinkle the chocolate shavings or chips over the top if you are using them. And voila! You’ve made a cake.
- Eat and enjoy!