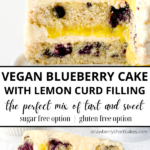
This vegan lemon blueberry cake is bursting with juicy blueberries, slathered with a creamy vanilla buttercream frosting, and hidden between each layer is a rich and tart lemon curd filling. Oh and undetectably vegan and optionally gluten free! What could be better?!
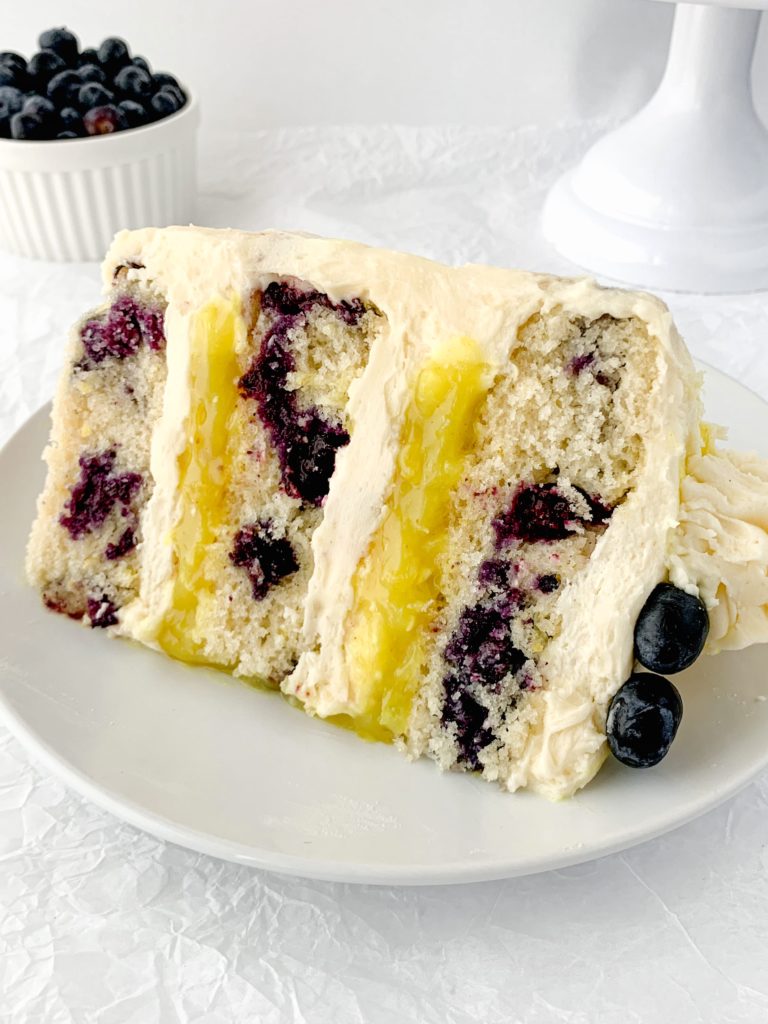
Blueberries and lemon. What goddess first ate these flavors together and realized the perfection of the pairing?! Well, today I am pleased to bring you the ultimate in blueberry & lemon flavors – three layers of lemon flavored cake bursting with blueberries, then in between each layer is a generous helping of lemon curd, then surrounding THAT is a dreamy vanilla buttercream frosting.
Are you with me?? I think you’re with me. The fun of this cake is also it’s totally customizable – first of all, you can do as many layers as you want. If 3 feels overwhelming then do 2, or even just one little guy! If you’re not a lemon curd fan then leave it out entirely, or instead of layering it in just put a helping on the side of the cake or spoon over the top of each piece. You can swap out the blueberries for raspberries, or add some lemon extract to the frosting if you want even more lemon.. have fun with it!! Let’s make this vegan lemon blueberry cake!
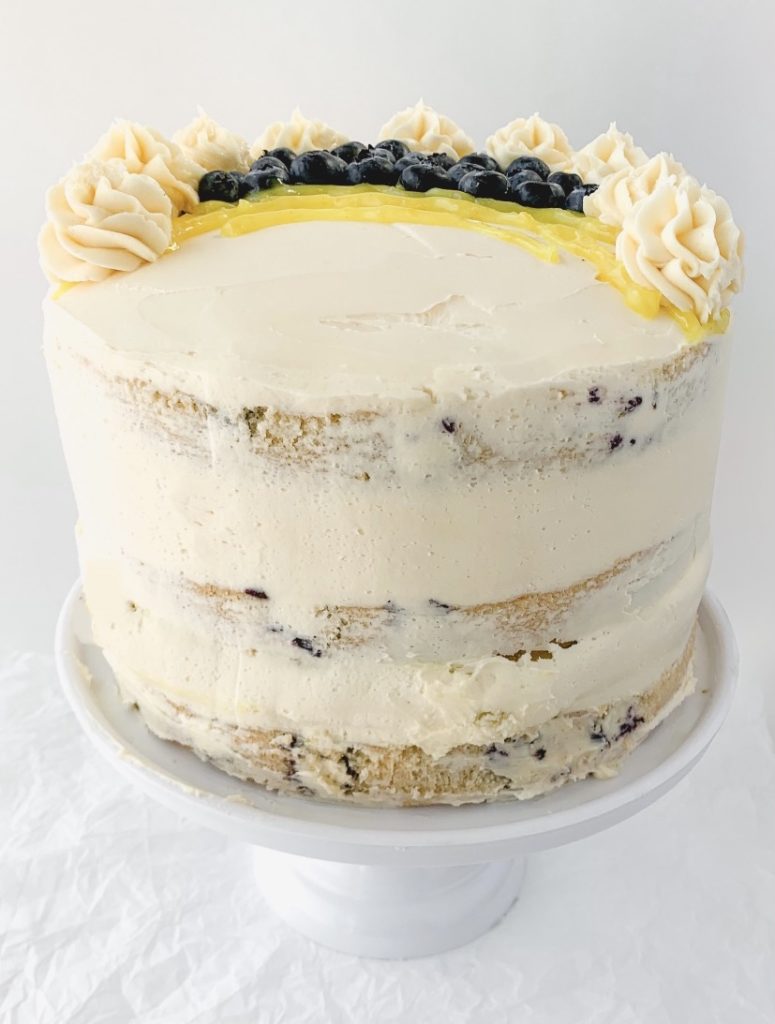
How To Make It:
This vegan lemon blueberry cake has a few components. First thing we will make – that lemon curd. You need it completely cooled before adding into the cake otherwise it will be way too runny, so making this is step one. You can either do it the night before, which is my personal preference so there are less things (and dishes) to do day of, or if you are doing everything in one day make sure to leave yourself at least 3 hours from when you are starting the curd to when you will be putting together the cake.
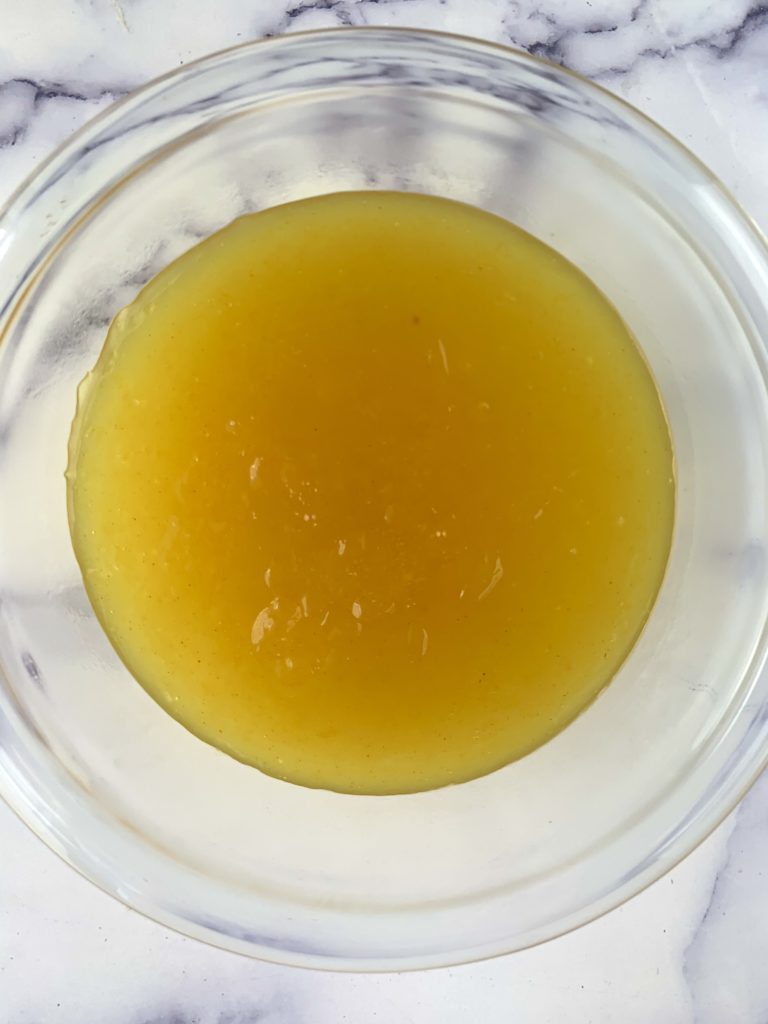
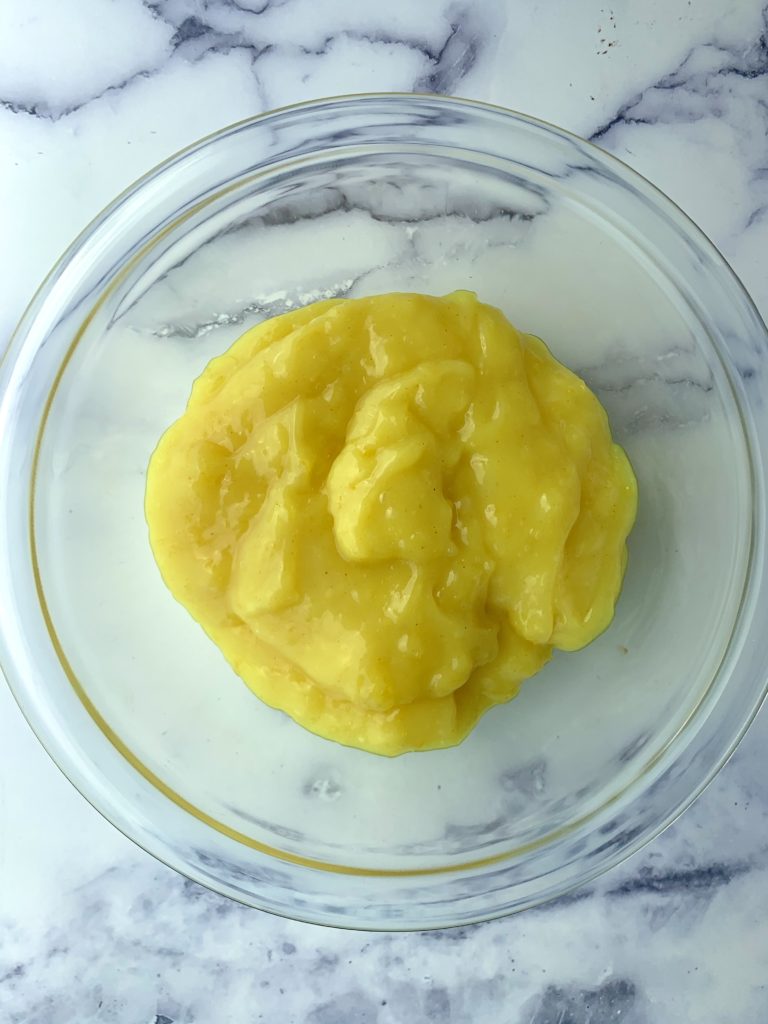
The lemon curd is incredibly easy, in that you just stick all the ingredients – coconut milk, sugar (see the Ingredients Needed section to learn how to make this sugar free!), cornstarch, lemon juice, lemon zest, vegan butter, salt, and turmeric – into a small pot or saucepan, whisk until fully combined, then heat on medium heat for about 15 minutes until it’s thickened. Once it’s ready you want to pour it into a large, heatproof bowl, let it sit at room temperature for at least 20-30 minutes until it’s not piping hot, then put into the fridge for at least 2 hours to cool entirely. You will know it’s ready when the color has turned a lighter yellow, and it has thickened considerably. This first photo is a few minutes after I’ve removed it from the pan, second is after being in the fridge for 2 hours.
A few notes on the specific ingredients:
-vegan butter – this is completely optional. In fact, adding it messes with the texture a bit because it makes it a touch runnier which we DON’T want for this cake, but it makes the flavor much richer. So it’s totally up to you. If you want a much deeper, richer flavor, which I think makes it extra yummy, then include the butter and we will just add some more cornstarch to help thicken. But if you want to be butter free here you can absolutely leave it out.
-coconut milk – use a good canned kind. If you can only find coconut cream then that works too.
-turmeric – this just helps give it that bright yellow color. If you don’t have any on hand then don’t worry about it, and it will still be yellow!, just less neon.
-lemons – this amount of juice and zest should be around 4 lemons, but have more on hand of course for the cake itself but just extra in general in case some of yours get less juice, you don’t want to run short! Make sure to use a good lemon juicer instead of just squeezing by hand, otherwise it’ll be tough to get as much juice as you need.
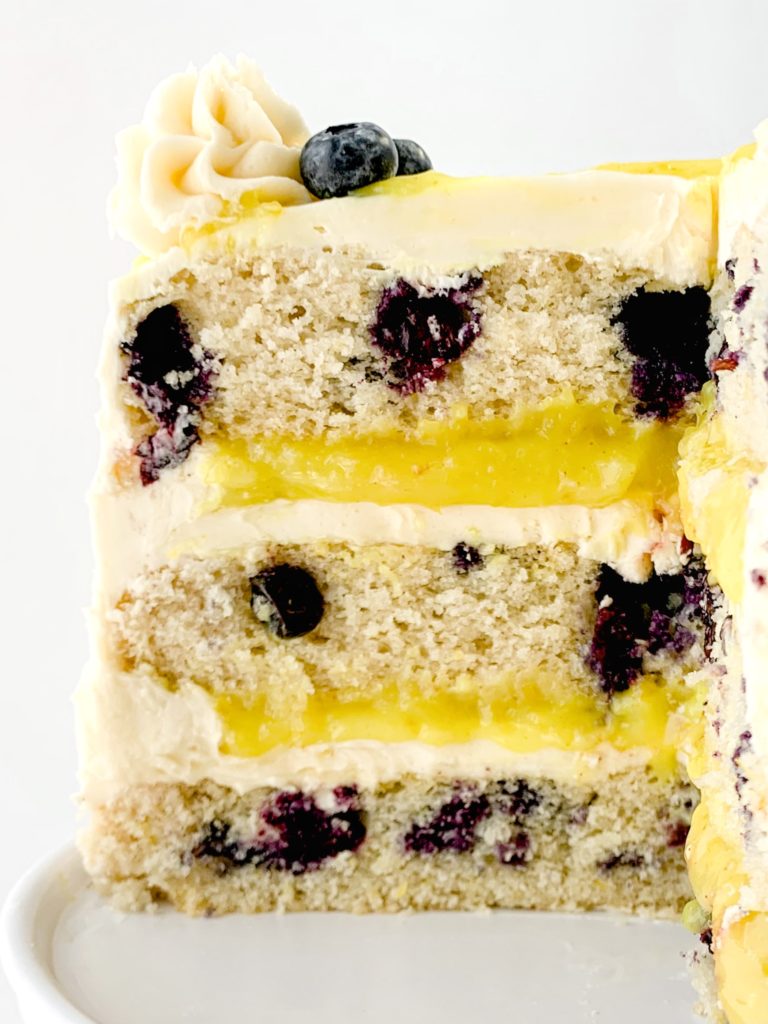
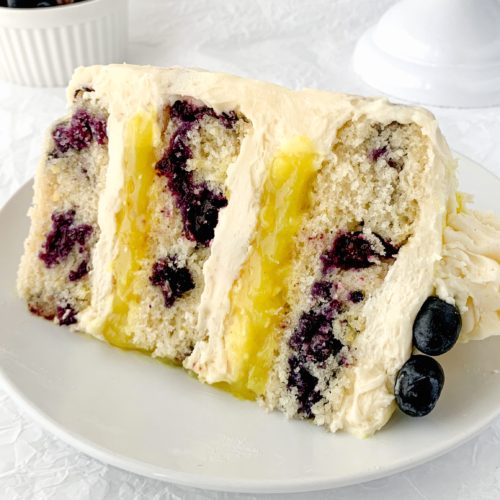
This amount of curd makes what you see in the photos here – it is a LOT. I went incredibly heavy on the filling between the layers, I used some extra to decorate the top, and I still had some excess remaining. It will stay good in the fridge for a while so I always vote to make the extra and have leftovers to spread on toast or scones over the next few weeks, but if you cut this recipe down I’m sure you’d be fine.
Cake batter time!
Next step is making the actual layers of vegan lemon blueberry cake! The amounts I use in the recipe section below make 3 layers, of course adjust as you want. In a large bowl add in the dry ingredients – gluten free (or all purpose) flour, baking powder, salt, and sugar (again, see the Ingredients Needed section to learn how to make this sugar free). Mix together, then add in the wet ingredients – non-dairy milk, neutral oil, and vanilla extract. Mix with a spoon or spatula until just combined, then add in the blueberries and lemon zest and fold through gently. Note – if you are using frozen blueberries, don’t thaw them! Add them frozen into the batter.
When pouring the batter into the cake tins, I like to line them with parchment rounds AND grease or spray with non-stick spray, and I also weigh each one on my handy dandy kitchen scale to make sure each layer will turn out to be the same size.
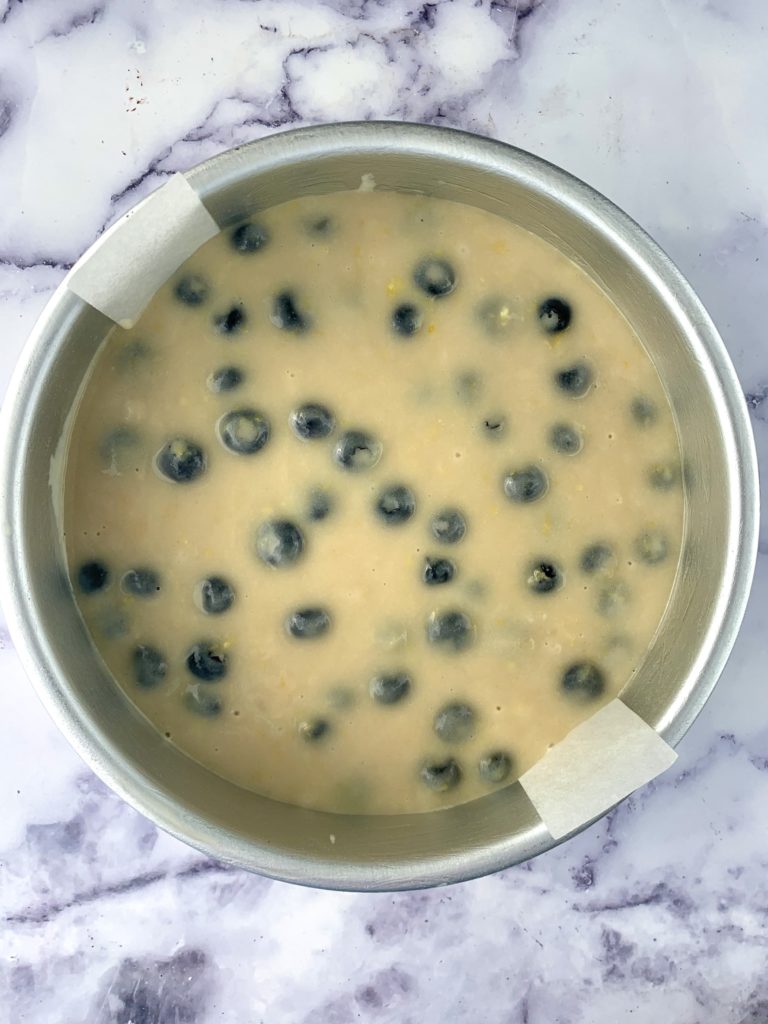
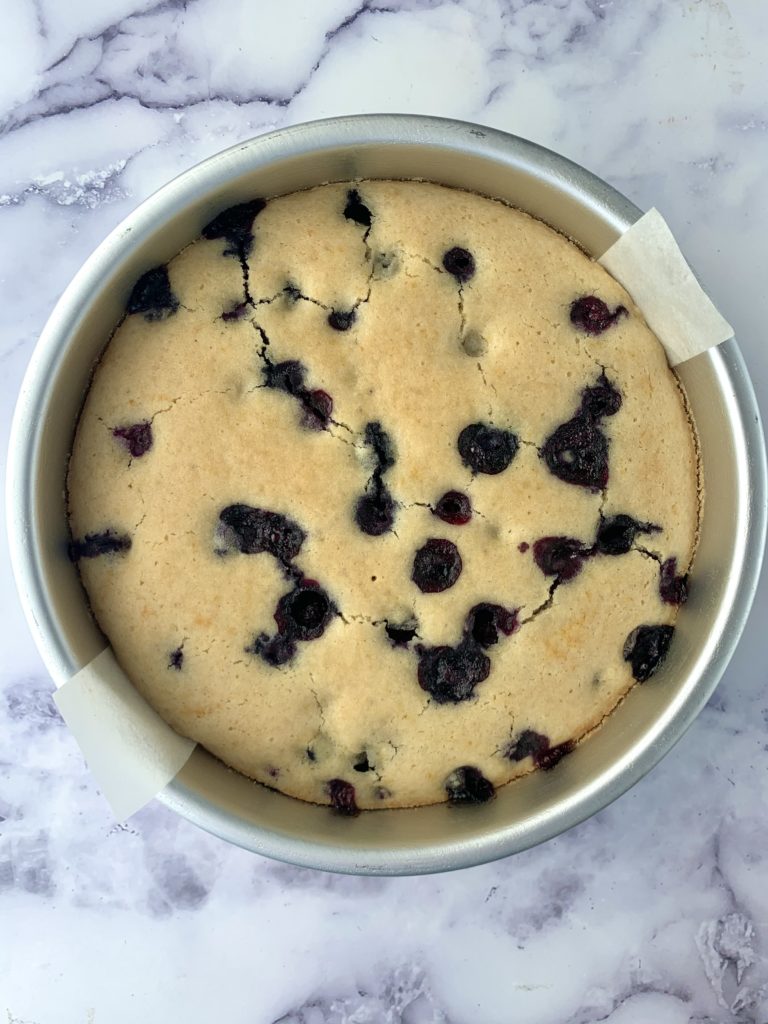
Bake for 30-35 minutes and test for doneness by sticking in a toothpick and making sure it comes out with crumbs no wet batter. Once they’re done cooking, remove from the oven and place the pans directly onto cooling racks to come to room temperature. Personally I find cakes much easier to frost when they are cool or even cold, so I usually let them sit in the pan for about 15-20 minutes, remove from the pans and put onto cooling racks, and then move into the fridge for about 30 minutes to cool fully.
Frosting time!
When you are just a few minutes away from being ready to put the vegan lemon blueberry cake together, then we make the frosting so it’s nice and fresh. This is the easiest part of course – start by adding your vegan butter straight from the fridge to a large bowl and beating with a mixer until it’s softer and fluffy. I use a very simple hand mixer, but of course if you have a fancier mixer then yay for you! Then add the vanilla extract and powdered sugar a cup at a time and keep mixing until it’s all combined, scraping down the sides as you go. I use between 6.5 and 7 cups to get this amount of frosting.
If you find you’ve made it too thick, add a few drops of non-dairy milk. If it’s too thin, keep adding powdered sugar until you get your desired consistency. You want it smooth and soft enough to spread on the cake of course, but it needs to be hard enough to stay put!
And here we go, everything is ready to build the cake!! If you’ve never put together a cake and you’re intimidated, go watch a couple quick videos online, I promise it’s not bad. Start by laying down your first layer and covering with a layer of icing. Now the fun part – if you are adding lemon curd between the layers, you want to pipe a ring of frosting around the edge of the cake layer, that way it builds sort of a frosting wall that the curd can’t escape from. After I’ve done this I put it back into the fridge for a few minutes to firm up while I do the same to the second layer.
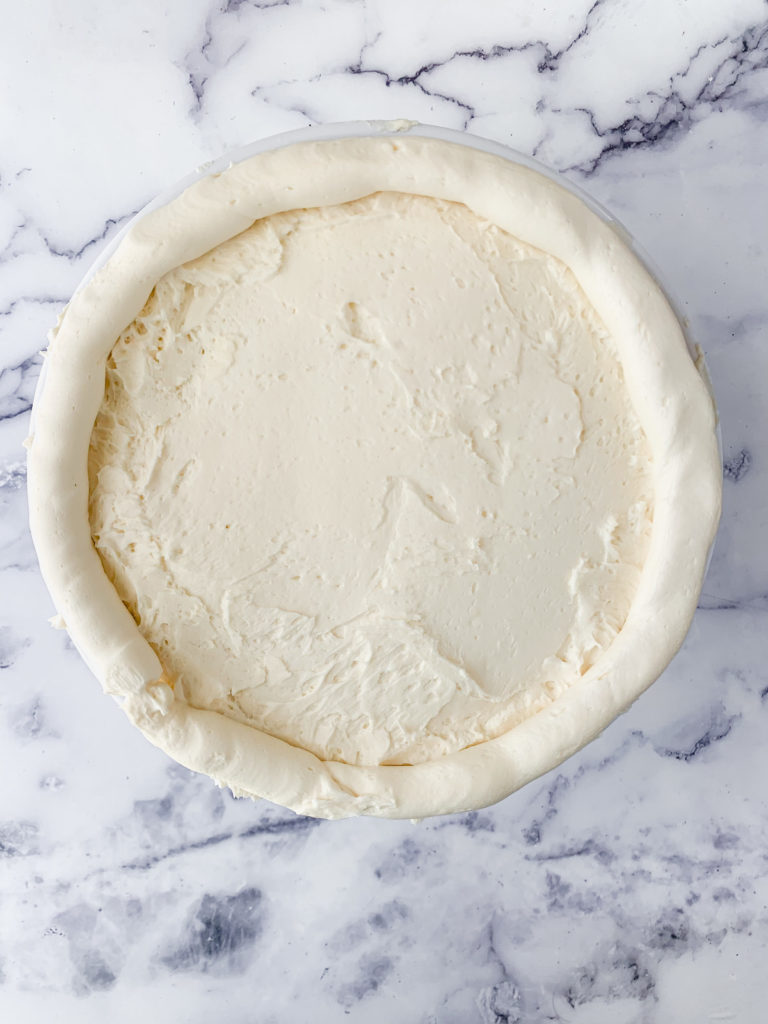
Next step..
Once the frosting ring is firmer to the touch, add that lemon curd in! You can just carefully scoop it on with a spoon and smooth with a spatula. I will note – the amount I did in the photos here is VERY thick. It’s a bit unruly. Delicious yes but it gets tough to move the pieces of cake around once you’ve cut them. Just noting this in case you want to go a bit lighter on your own filling! Or go even heavier, it’s your cake!!!
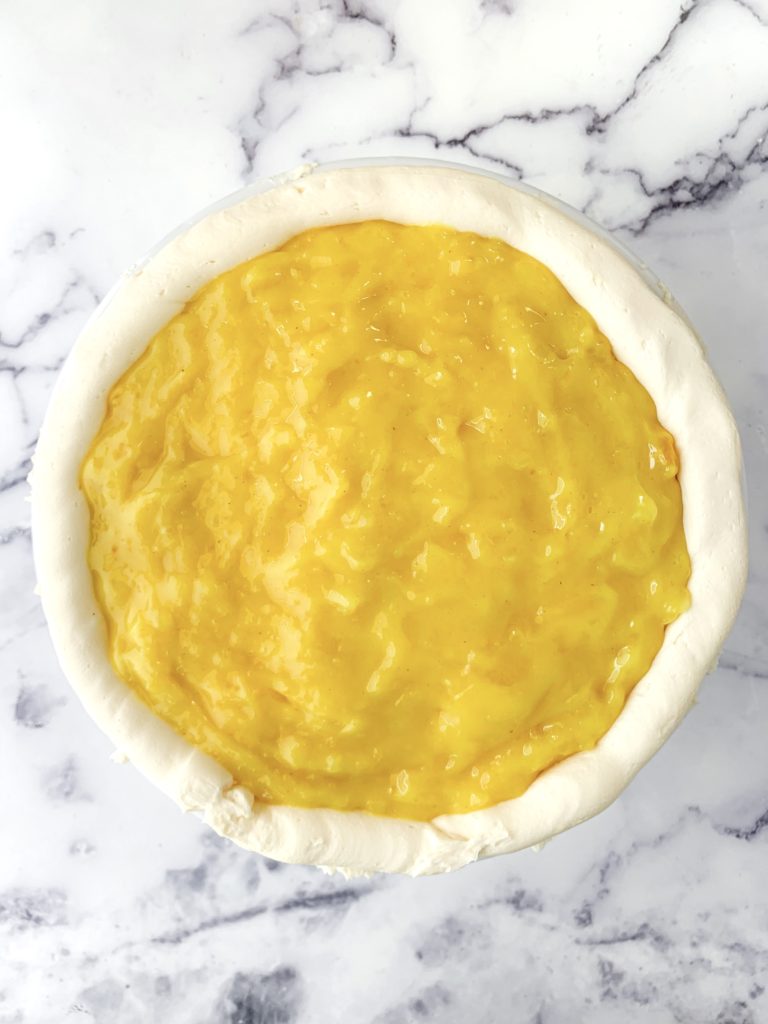
When both of those layers are done, carefully add one on top of the other, then put the third layer on top of both and add frosting to the top of that one and the sides of the whole cake. Decorate as much as you want with spare curd, or more blueberries, or slices or zest of lemons, have fun!!
That’s it! Time to eat your vegan lemon blueberry cake with lemon curd filling!
Storage:
The cake will stay good in the fridge for about 5 days, or freeze pieces to last a few months.
Pro Tips & Tools:
- Make sure you are measuring your flour either by weight or using the spoon and level method. Do not scoop directly from the container, as you will wind up with too much! This is so important! If you want to buy a pre-made gluten free flour blend, make sure it’s King Arthur’s Measure for Measure Gluten Free Flour, it is BY FAR the best one for my recipes, NOT Bob’s Red Mills or any others. If you want to make a homemade blend, here is a link to the one I use.
- Make sure you measure your liquid ingredients using liquid measuring cups. This will ensure accuracy! I love this set.
- If you don’t use coconut milk often, make sure you use a good canned option. This one is my personal favorite and I always keep a few cans in the pantry for “emergencies”.
- Be a lemon master! Get the finest zest using this microplane, and get the most juice out of them using this juicer.
- Need any other tools I’ve used here? For the cake itself I use these cake tins, these parchment liners, and this kitchen scale to make sure each layer is the same size. For the frosting, I use this simple hand mixer. And to frost the cake you can use a simple offset spatula, or spring for this whole set of cake stuff.
Ingredients Needed:
- Coconut milk – use a great canned coconut milk, or coconut cream will work too if that’s all you can find. If you are making the amount of curd I use here (which is a very heavy amount of curd for a 3-layer cake) you will need 2 cans.
- Granulated sugar – for the curd as well as the cake layers. If you want to make this sugar free, I love using this Monkfruit Sweetener in place of granulated sugar.
- Vegan butter – optional for the lemon curd, necessary for the frosting. I use Earth Balance sticks.
- Cornstarch – the amount will vary slightly based on whether or not you are using butter in your curd. More on that above and in the instructions below.
- Lemons – between the curd and the cake layers, you will want 7 lemons.
- Turmeric – optional, to add an extra pop of yellow color to the lemon curd
- Salt
- Flour – Make sure you are measuring your flour either by weight or using the spoon and level method. Do not scoop directly from the container, as you will wind up with too much! This is so important! If you want to buy a pre-made gluten free flour blend, make sure it’s King Arthur’s Measure for Measure Gluten Free Flour, it is BY FAR the best one for my recipes, NOT Bob’s Red Mills or any others. If you want to make a homemade blend, here is a link to the one I use.
- Baking powder
- Non-dairy milk – I always use soy, you can use any that you want
- Neutral oil – I always use grapeseed, you can use any that you want
- Vanilla extract
- Blueberries
- Powdered sugar – similar to the granulated sugar note, if you want to make these sugar free, you can use this powdered sweetener in place of powdered sugar.
What To Bake Next:
- Want more lemon & blueberry goodness? Try these Vegan Blueberry Muffins, or these Vegan Lemon Blueberry Scones.
- Want other fruit treats? Try this Vegan Mimosa Cake, or this Vegan Lemon Pound Cake, or these Vegan Lemon Bars, or these Vegan Raspberry Crumble Bars.
- Or how about two secret veggie cakes? Try this Vegan Carrot Cake, or this Vegan Chocolate Zucchini Bread.
- Want other birthday party desserts? Try this Vegan Chocolate & Salted Caramel Cake, or these Vegan Funfetti Cupcakes, or these Vegan Fudgy Brownies.
Vegan Blueberry Lemon Cake with Lemon Curd Filling (Gluten Free option)
Ingredients
Lemon Curd Ingredients
- 2 cups coconut milk or cream
- 2 cups granulated sugar *if you want a sugar free option, this links to my favorite sweetener, you can substitute it 1:1 in place of regular granulated sugar
- 3 tbsp vegan butter *optional, notes in recipe steps
- 4-6 tbsp cornstarch *notes in recipe steps
- 1 cup lemon juice
- 4 lemons' worth of zest
- ¼ tsp turmeric *optional, just adds more yellow color
- ¼ tsp salt
Cake Ingredients
- 3½ cups gluten free flour can sub all-purpose if desired. This links to my favorite store bought gluten free flour blend that works best with all of my recipes, or see "Ingredients Needed" section for further info.
- 2 cups granulated sugar
- 3¾ tsp baking powder
- 1½ tsp salt
- 1¾ cups + 2 tbsp non-dairy milk
- ¾ cup + 1½ tbsp neutral oil
- 1½ tsbp vanilla extract
- 3 lemons' worth of zest
- heaping 1½ cups of blueberries
Buttercream Frosting Ingredients
- 2 cups vegan butter *cold, straight from the fridge
- 6½ – 7 cups powdered sugar *if you want a sugar free option, this links to my favorite powdered sweetener, you can substitute it 1:1 in place of regular powdered sugar
- 2 tsp vanilla extract
Instructions
- Lemon Curd: This is the first component we will make, and you can either do it a day in advance to let it sit overnight, or begin making it at least 3 hours before you want to put the cake together. Note this amount makes for a LOT of lemon curd. If you are doing anything smaller than a 3-layer cake, I’d suggest cutting this recipe in half. At this amount you will be able to add an incredibly thick layer of curd like you see in these photos, have leftover to decorate the top of the cake, and even have more to spare. Add all the ingredients in the Lemon Curd section into a small pot or saucepan. The vegan butter is optional – it makes the taste much more rich and delicious, but if you leave it out that’s okay too. If you are leaving it out, you should use 4 tbsp of cornstarch. If you are using the vegan butter, you should use 6 tbsp of cornstarch. Turn the stove to medium heat and whisk everything together fully. Keep mixing it for about 15 minutes as it heats up and thickens, then remove from heat and pour immediately into a large heat proof bowl. Let it cool at room temperature for 20-30 minutes, then move to the fridge. It will take about 2 hours to fully cool, you will notice it becomes a lighter color and thickens considerably.
- Cake Layers: Next up we will make the layers of cake. I will note again – the amount here is for a 3-layer cake. If you want more layers or fewer layers, make sure to adjust your amounts accordingly. Start by pre-heating the oven to 350°F and greasing 3 8-inch cake tins and lining with parchment rounds. Add the flour, sugar, baking powder, and salt into a large bowl and mix together. Then add in the non-dairy milk, neutral oil, and vanilla extract, then fully mix using a large spoon or spatula until it is just combined. Finally add in lemon zest and blueberries – note again if you are using frozen blueberries do NOT thaw before adding to the batter! – and fold throughout gently.
- Pour the batter evenly into the cake tins – I like to weigh each one to make sure the layers will come out the same size. Put into the oven for 30-35 minutes, testing for doneness by sticking a toothpick into the center of the cakes and making sure it comes out with just crumbs and not wet batter. Remove the cakes from the oven and let cool in the pans for about 15-20 minutes before moving to cooling racks. I like to then put the layers directly into the fridge to cool completely, as I find it’s easier to frost the cake when it is cold.
- Buttercream Frosting: the final step once you are just a few minutes away from putting your cake together is making the frosting. Take the vegan butter directly from the fridge so it is cold and solid, and put into a large mixing bowl. Use either a hand mixer or a fancier mixer to beat the butter until it is soft and fluffy, then add in the vanilla extract and add the powdered sugar one cup at a time, mixing and scraping down the sides of the bowl as you go. Get it to your desired consistency – if it gets too hard, add a few drops of non-dairy milk. If it’s too soft, keep adding powdered sugar.
- Once all the elements are ready, it’s time to build the cake! The first step here is adding frosting to the tops of two of the three layers, then piping a ring of frosting around the top of the cake, which will act as a wall to keep the lemon curd from oozing out of the sides. There are photos of this earlier in this post. Put each back into the fridge for a few minutes to let the frosting harden a bit, then scoop as much lemon curd as you want onto the top of each layer and smooth with a spatula. Don’t let the curd come higher than the frosting ring. If you have the time I like to put each layer back into the fridge then to let it set for a few minutes.
- Once those layers are ready, gently put one on top of the other, then put the final layer on top of those. Finish frosting the top and sides of the cake, and then you can use extra blueberries, lemon curd, lemon zest or slices, or more frosting to decorate.
- Eat and enjoy!
Notes
NUTRITION INFO
Total amount: 24 slices
Serving size: 1 slice
*Note – I account for 24 slices here since this cake is BIG. Also I break down the specific numbers for the cake slices, the curd, and the frosting. I do this since you will likely eat all the cake, but NOT use the entire amounts of frosting or curd. Per serving amounts – CAKE LAYERS:- Calories – 215
- Grams of fat – 8.2
- Grams of carbs – 33.3
- Grams of protein – 2.6
- Calories – 117
- Grams of fat – 4.1
- Grams of carbs – 19.7
- Grams of protein – 0.3
- Calories – 278
- Grams of fat – 14.7
- Grams of carbs – 37.3
- Grams of protein – 0
I made this tonight and it was incredible. Thank you
So happy to hear that!!!