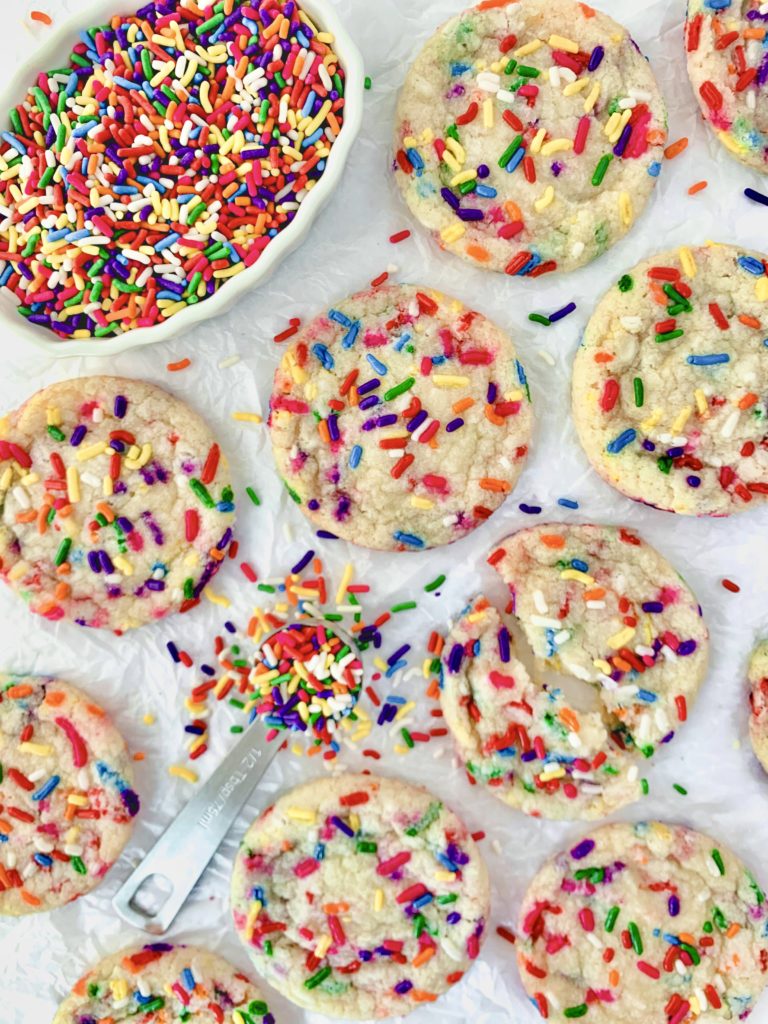
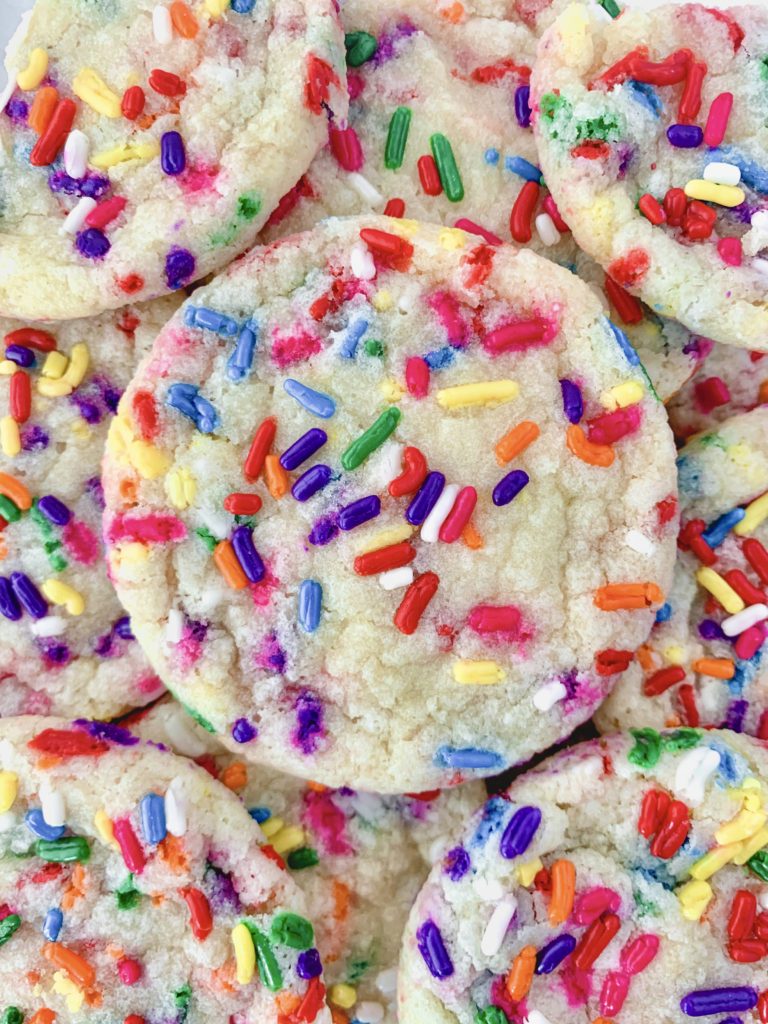
Lightly crispy on the edges and unbelievably soft and moist on the inside, the word FUN is literally in the name of these deliciously colorful Vegan Funfetti Cookies!
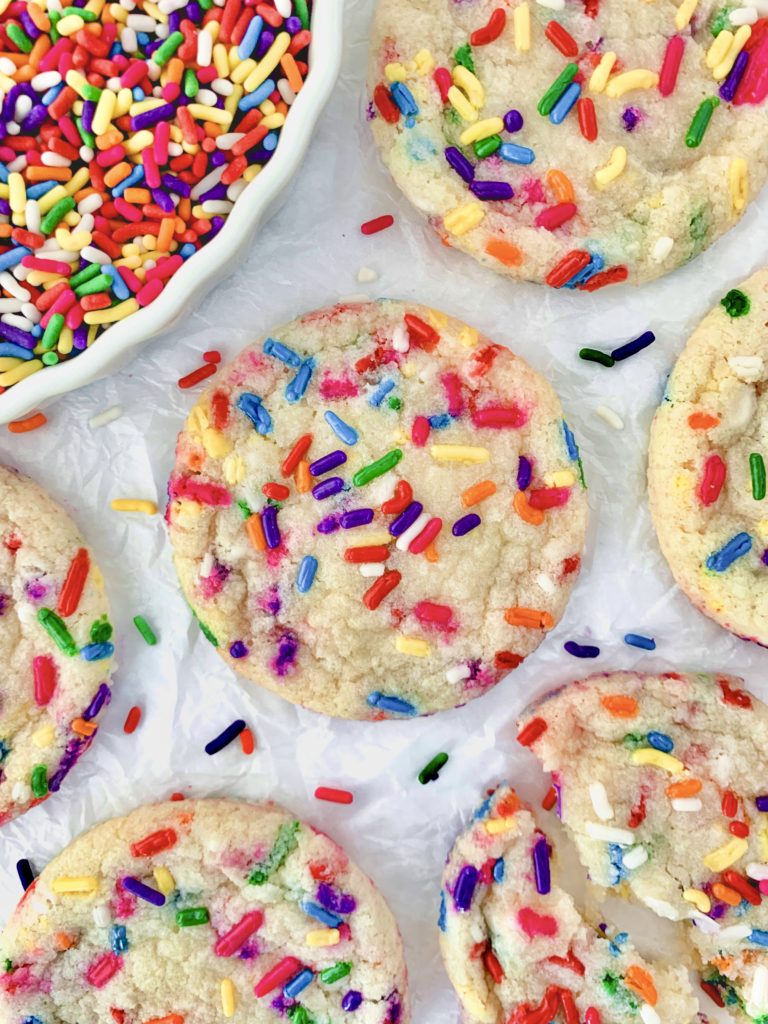
Facts: Cookies make the world a better place. Also, sprinkles make the world a better place. So perhaps I am oversimplifying it, but – does that mean that funfetti cookies can solve all the world’s problems??
I’m going to hold tight to that theory. But at the very minimum, I promise these cookies can make YOU feel great while you’re making and eating them!! They are so simple, require only 30 minutes of chill time, and every bite is a burst of colorful and sugary happiness. The outside edges are firm and a touch crispy, but the inside is decadently soft and moist.
More importantly – these cookies are versatile and can be used to fit the theme of any holiday party or event! I used these rainbow sprinkles for the batch you see in these photos, but get some pastel ones and make Easter cookies! Get blue and white ones and make Hanukkah cookies! Customize for a baby shower or an Independence Day celebration or a birthday party!! I’m getting too excited by sprinkle color/holiday pairings, let’s get into BAKING.
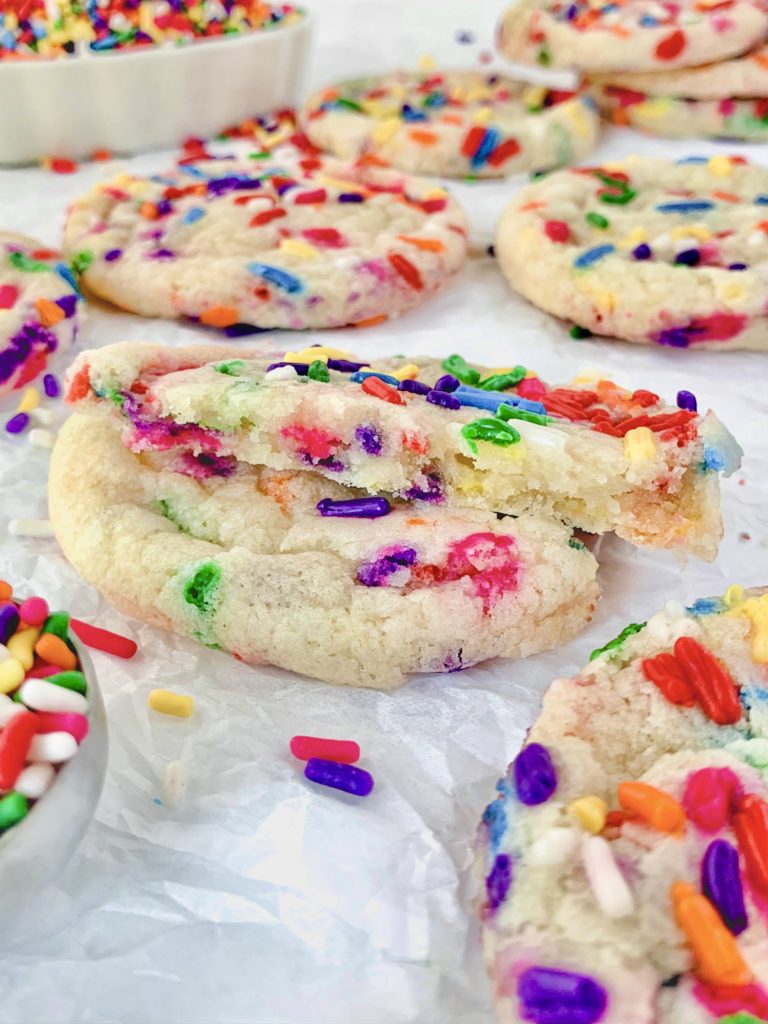
How To Make Them
In creating these vegan funfetti cookies, it was important to me to keep these cookies soft and fluffy, which I believe is the essence of funfetti. They needed to just have granulated sugar instead of brown sugar, but also needed to not have TOO much sugar since the sprinkles are basically all sugar and I didn’t want it to be overwhelming. Oh and they needed to be delicious and easy look pretty and make you happy.
Luckily, they do all of that, and they’re SO easy! You want to start by taking your vegan butter out of the fridge, since it needs to be room temperature before making the dough. Once it’s soft, cream it together with the granulated sugar (see the Ingredients Needed section to learn how to make these sugar free!), then add in the non-dairy milk and vanilla extract and mix that together until combined and fluffy. Then add in the dry ingredients – gluten free flour, baking powder, and salt – and combine again. The dough will be very sticky.
Finally, it’s sprinkle time! I chose to make the official recipe amount 1/3 cup of sprinkles. Can you fit a little more? Definitely. But do I think those extra sprinkles are best used by rolling the balls of dough in them before baking so the tops get bursts of bright, vibrant colors, and the beauty isn’t just relegated to the insides of the cookies? DEFINITELY. So in conclusion, if you want to up it to around ½ cup of sprinkles I think you’d be okay, but I’d suggest keeping it at 1/3 cup, and then holding a few tablespoons til the end to roll the balls in.
Now it’s time to chill the dough. Most funfetti cookie recipes like this that I have seen require 2-hours of dough chilling time. I just.. I cannot wait this long. This recipe only needs 30 minutes for the dough to be chilled the right amount, however you can absolutely leave it in the fridge for hours or even overnight, but if you leave it longer just make sure the dough comes up to temperature for a few minutes before putting the balls into the oven.
Once you are ready to bake, make sure your oven is preheated to 350 degrees, and then roll out 2-tablespoon sized balls of dough. I love my trigger scooper an unnatural amount, but if you don’t have one of these, just size it out to get around 16 cookies total. Roll the tops and sides of each ball in extra sprinkles and then space out a few inches apart on a parchment paper lined pan.
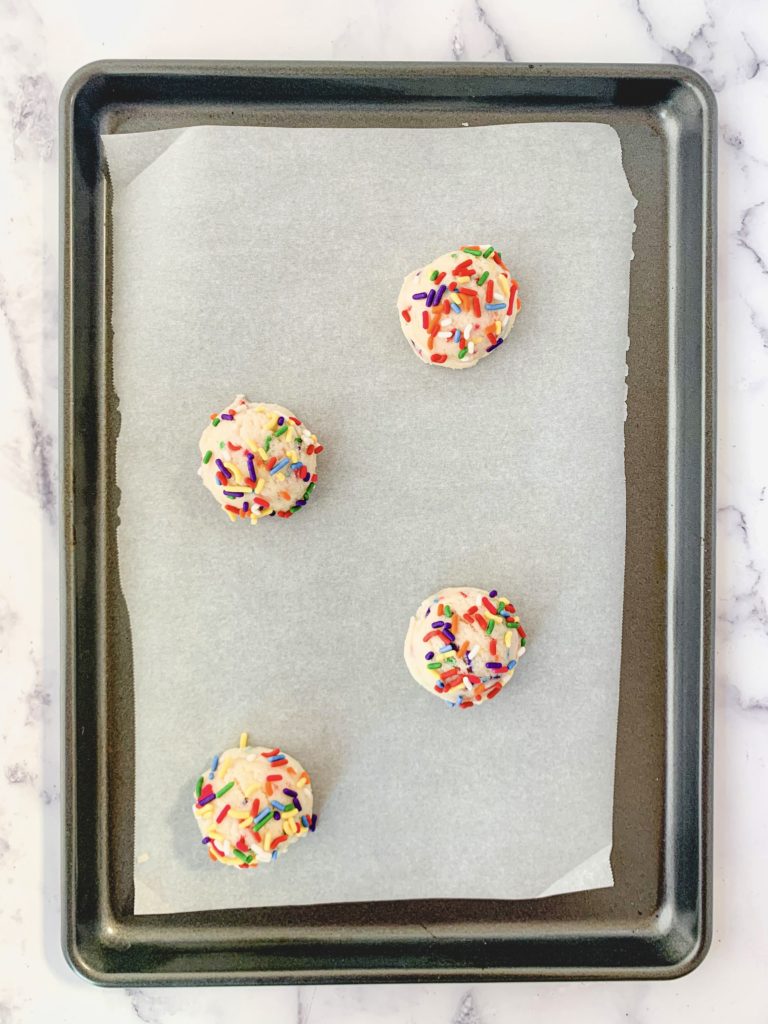
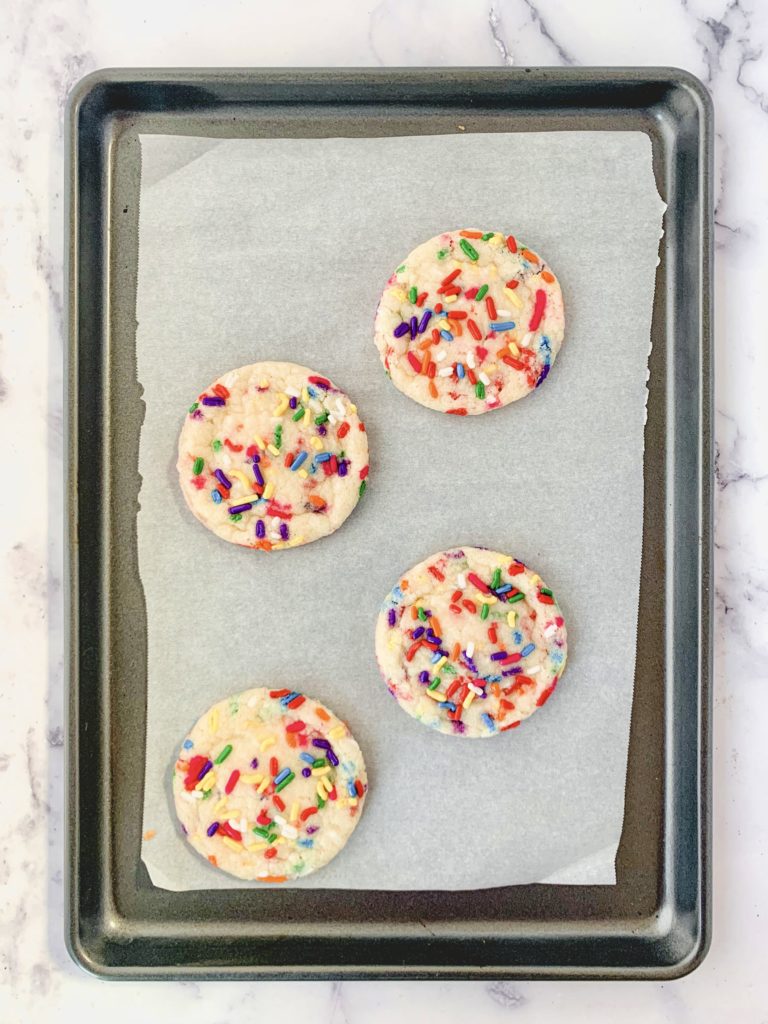
Bake for 10-11 minutes and then remove the pan and place onto a cooling rack, and let the cookies continue to firm on the pan for at least 10 minutes, as they will be underdone when you remove them. You will notice that when you’re taking the pan out of the oven, the cookies are puffed up sort of tall. They will fall to a normal cookie size as they cool. And voila! Vegan Funfetti Cookies!
Last note – these cookies benefit greatly from shaping them into cleaner circles right out of the oven. If you haven’t shaped cookies before, it is easy! Use either a large round cookie cutter, or the lid of a mason jar, and loosely swirl it in a circular shape around the outside of the cookie while it’s still warm enough to reshape. I did that on all the cookies you see here. They did NOT wake up like this.
That’s it! Time to eat your vegan funfetti cookies!! Nutritional info can be found below in the Notes section below the recipe instructions.
Storage:
After they have cooled, seal in an air-tight container and store at room temperature. They will stay good around 3-5 days.
Pro tips and tools:
- Make sure you are measuring your flour either by weight or using the spoon and level method. Do not scoop directly from the container, as you will wind up with too much! This is so important! If you want to buy a pre-made gluten free flour blend, make sure it’s King Arthur’s Measure for Measure Gluten Free Flour, it is BY FAR the best one for my recipes, NOT Bob’s Red Mills or any others. If you want to make a homemade blend, here is a link to the one I use.
- This tip goes for all cookie recipes – if it is your first time trying a new cookie recipe, if you have the time, I always suggest baking one cookie first before putting the full batch in the oven. That way if something is not working right for your batch, you can adjust before you’ve wasted all the dough. If it spreads too much, adding a little more flour is usually a safe fix. If it’s too dry and not spreading at all, it may need some more liquid ingredients, in this case a bit more non-dairy milk.
- I always keep a large round cookie cutter or a mason jar lid next to my oven, that way when the cookies come out if they are misshapen I can quickly use the round lid to help reshape the dough before it has firmed up.
- Perhaps my favorite kitchen tool is a trigger scooper for scooping cookie dough. This recipe calls for 2-tbsp sized balls, so I use this one.
- If you want brightly colored rainbow sprinkles like I used in the photos, these are them!
Ingredients needed:
- Vegan butter – I use Earth Balance sticks
- Granulated sugar – If you want to make these sugar free, I love using this Monkfruit Sweetener in place of granulated sugar.
- Non-dairy milk – any will work here
- Vanilla extract
- Flour – Make sure you are measuring your flour either by weight or using the spoon and level method. Do not scoop directly from the container, as you will wind up with too much! This is so important! If you want to buy a pre-made gluten free flour blend, make sure it’s King Arthur’s Measure for Measure Gluten Free Flour, it is BY FAR the best one for my recipes, NOT Bob’s Red Mills or any others. If you want to make a homemade blend, here is a link to the one I use.
- Baking powder – I recommend using baking powder that has no added aluminum. This one is my go-to.
- Salt
- Sprinkles – make sure they are vegan! I used these for the batch you see in these photos.
What To Bake Next:
- Want to use up some more sprinkles? Try these Vegan Funfetti Cupcakes.
- Want more fun cookies? Try these Vegan Copycat Levain Cookies, or these Vegan Peanut Butter Chocolate Chunk Cookies.
- Want MORE cookies?! Try these Vegan Copycat Thin Mint cookies, or these Vegan Banana Bread Cookies.
Vegan Funfetti Cookies (Gluten Free option)
Ingredients
- ½ cup vegan butter
- ¾ cup granulated sugar *if you want a sugar free option, this links to my favorite sweetener, you can substitute it 1:1 in place of regular granulated sugar
- 2 tbsp non-dairy milk
- 2 tsp vanilla extract
- 1¾ cups gluten free flour can sub all-purpose if desired. This links to my favorite store bought gluten free flour blend that works best with all of my recipes, or see "Ingredients Needed" section for further info.
- 1 tsp baking powder
- ¼ tsp salt
- 1/3 cup vegan sprinkles plus extra for rolling dough in
Instructions
- Start by creaming together the room temperature vegan butter with the granulated sugar, and then adding in the non-dairy milk and vanilla extract and fully combining.
- Add in the gluten free flour, baking powder, and salt, and mix completely, then add in the sprinkles and gently fold them throughout the dough.
- Put your bowl in the fridge and chill the dough for at least 30 minutes. It can stay there for many hours or overnight if needed, but if you leave it longer than about 45 minutes just make sure you let it come back to room temperature for a few minutes before baking.
- While the dough is chilling, preheat the oven to 350°F and line a pan with parchment paper. Once the dough is ready to be baked, scoop out 2-tablespoon sized balls and roll the tops and sides in additional sprinkles, then space out on the pan.
- Bake for 10-11 minutes. They will be underdone when they come out – let them stay on the hot pan for at least 10 minutes to continue to bake and firm up, then move them onto a cooling rack.
- Eat and enjoy!
Notes
NUTRITION INFO
Total amount: 16 cookies
Serving size: 1 cookies
Per serving amounts: (note – this accounts for 1/2 cup sprinkles not 1/3, assuming it will be about that much total with rolling the dough in them)- Calories – 170
- Grams of fat – 7.2
- Grams of carbs – 24.9
- Grams of protein – 1.4


This recipe was a household FAVORITE! The recipe was very easy to follow and the cookies turned out PERFECT. My kids are already asking when we can make them again.
Can I make the dough ahead and freeze it to use later?
I have not tried but I don’t see why not! Usually when you do that make sure to chill as you would normally, then scoop the balls, then freeze. Then when baking either thaw or bake on a slightly lower temperature for a little longer. Let me know how it goes!
Thank you! I’ll be sure to try it that way. 🙂
made these and added cholate chips big hit. u also put 1/4 a cup of flour less in as the dough looked a bit dry as I was making it
So glad they worked out well!!! Adding chocolate chips sounds YUM
Super good! Had to put extra oat milk in the batter because for some reason it was super dry and clumpy but after that they came out perfect!!
So glad it worked out!!! Different flours often have different consistencies so I’m glad you were able to troubleshoot with more oat milk!